Pixel on Shopify
The Glance Pixel is added to your store when you enable Glance. It runs across your store to support Glance functionality and track relevant shopper interactions. You don't need to add or configure the Pixel separately — it is added and connected automatically when you enable Glance on your store.
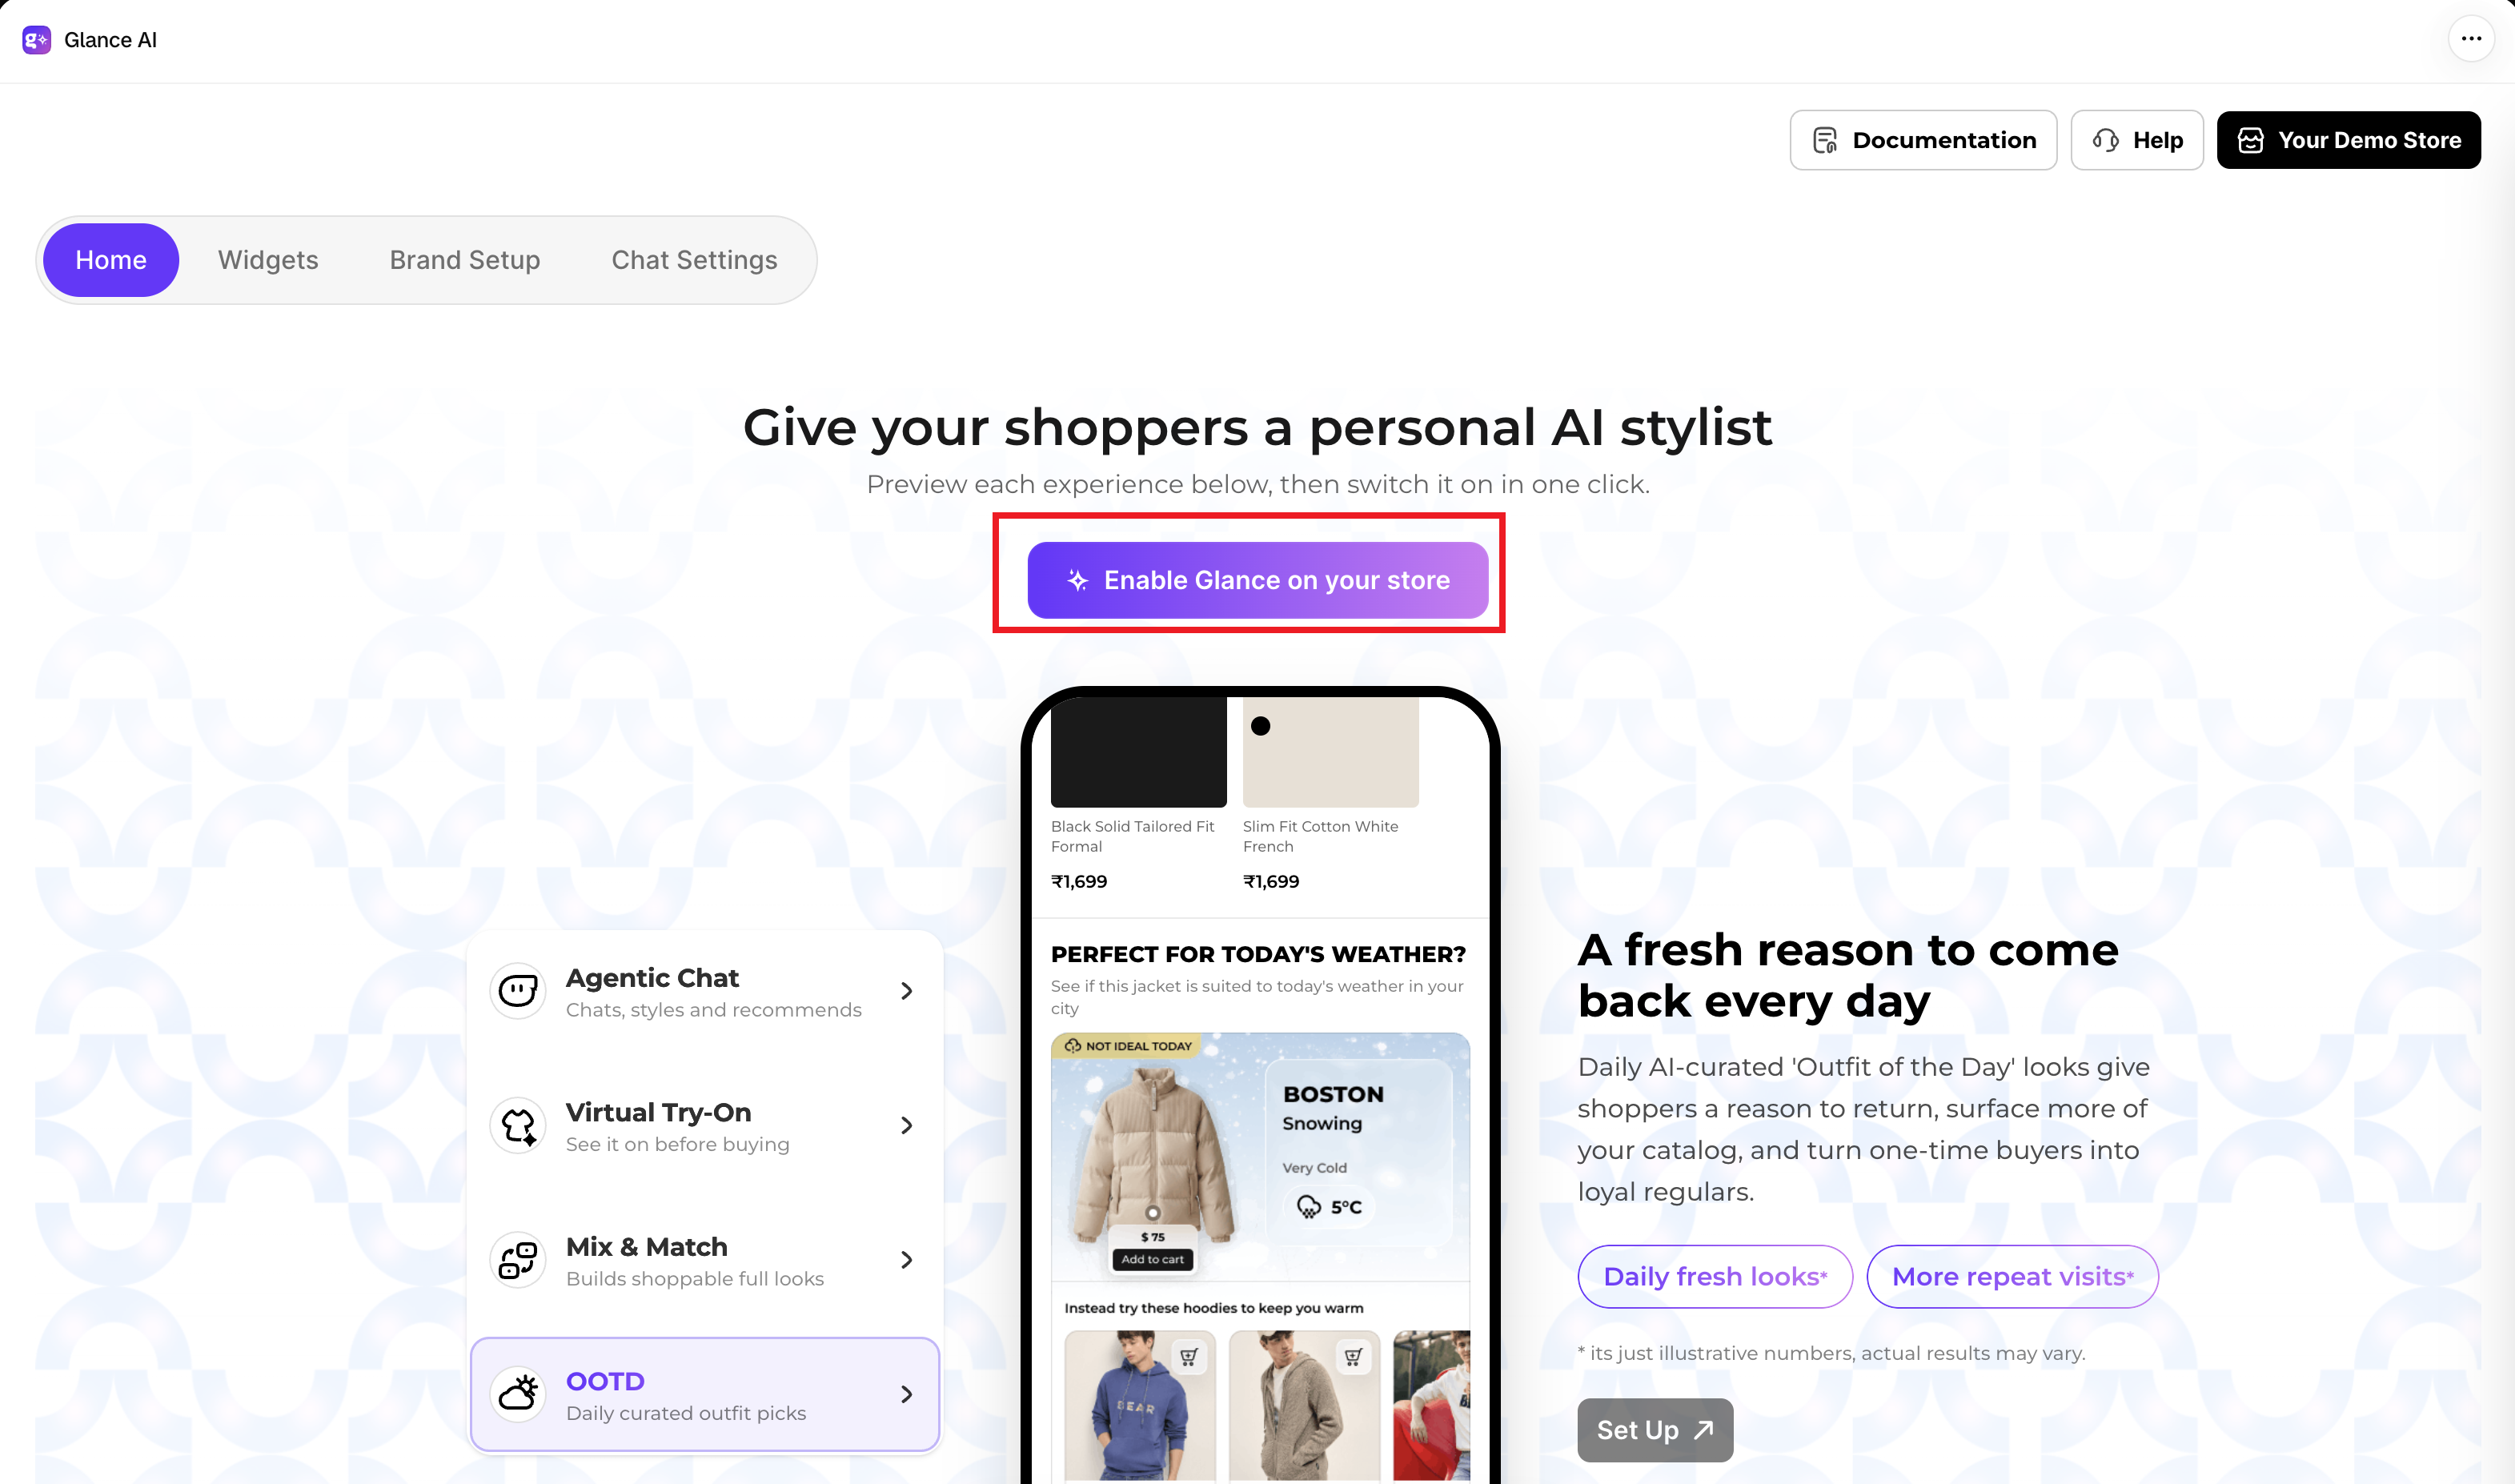
- On the home page, click Enable Glance on your store.
- A popup opens with an Enable Now button and a preview of the app embed you'll turn on.
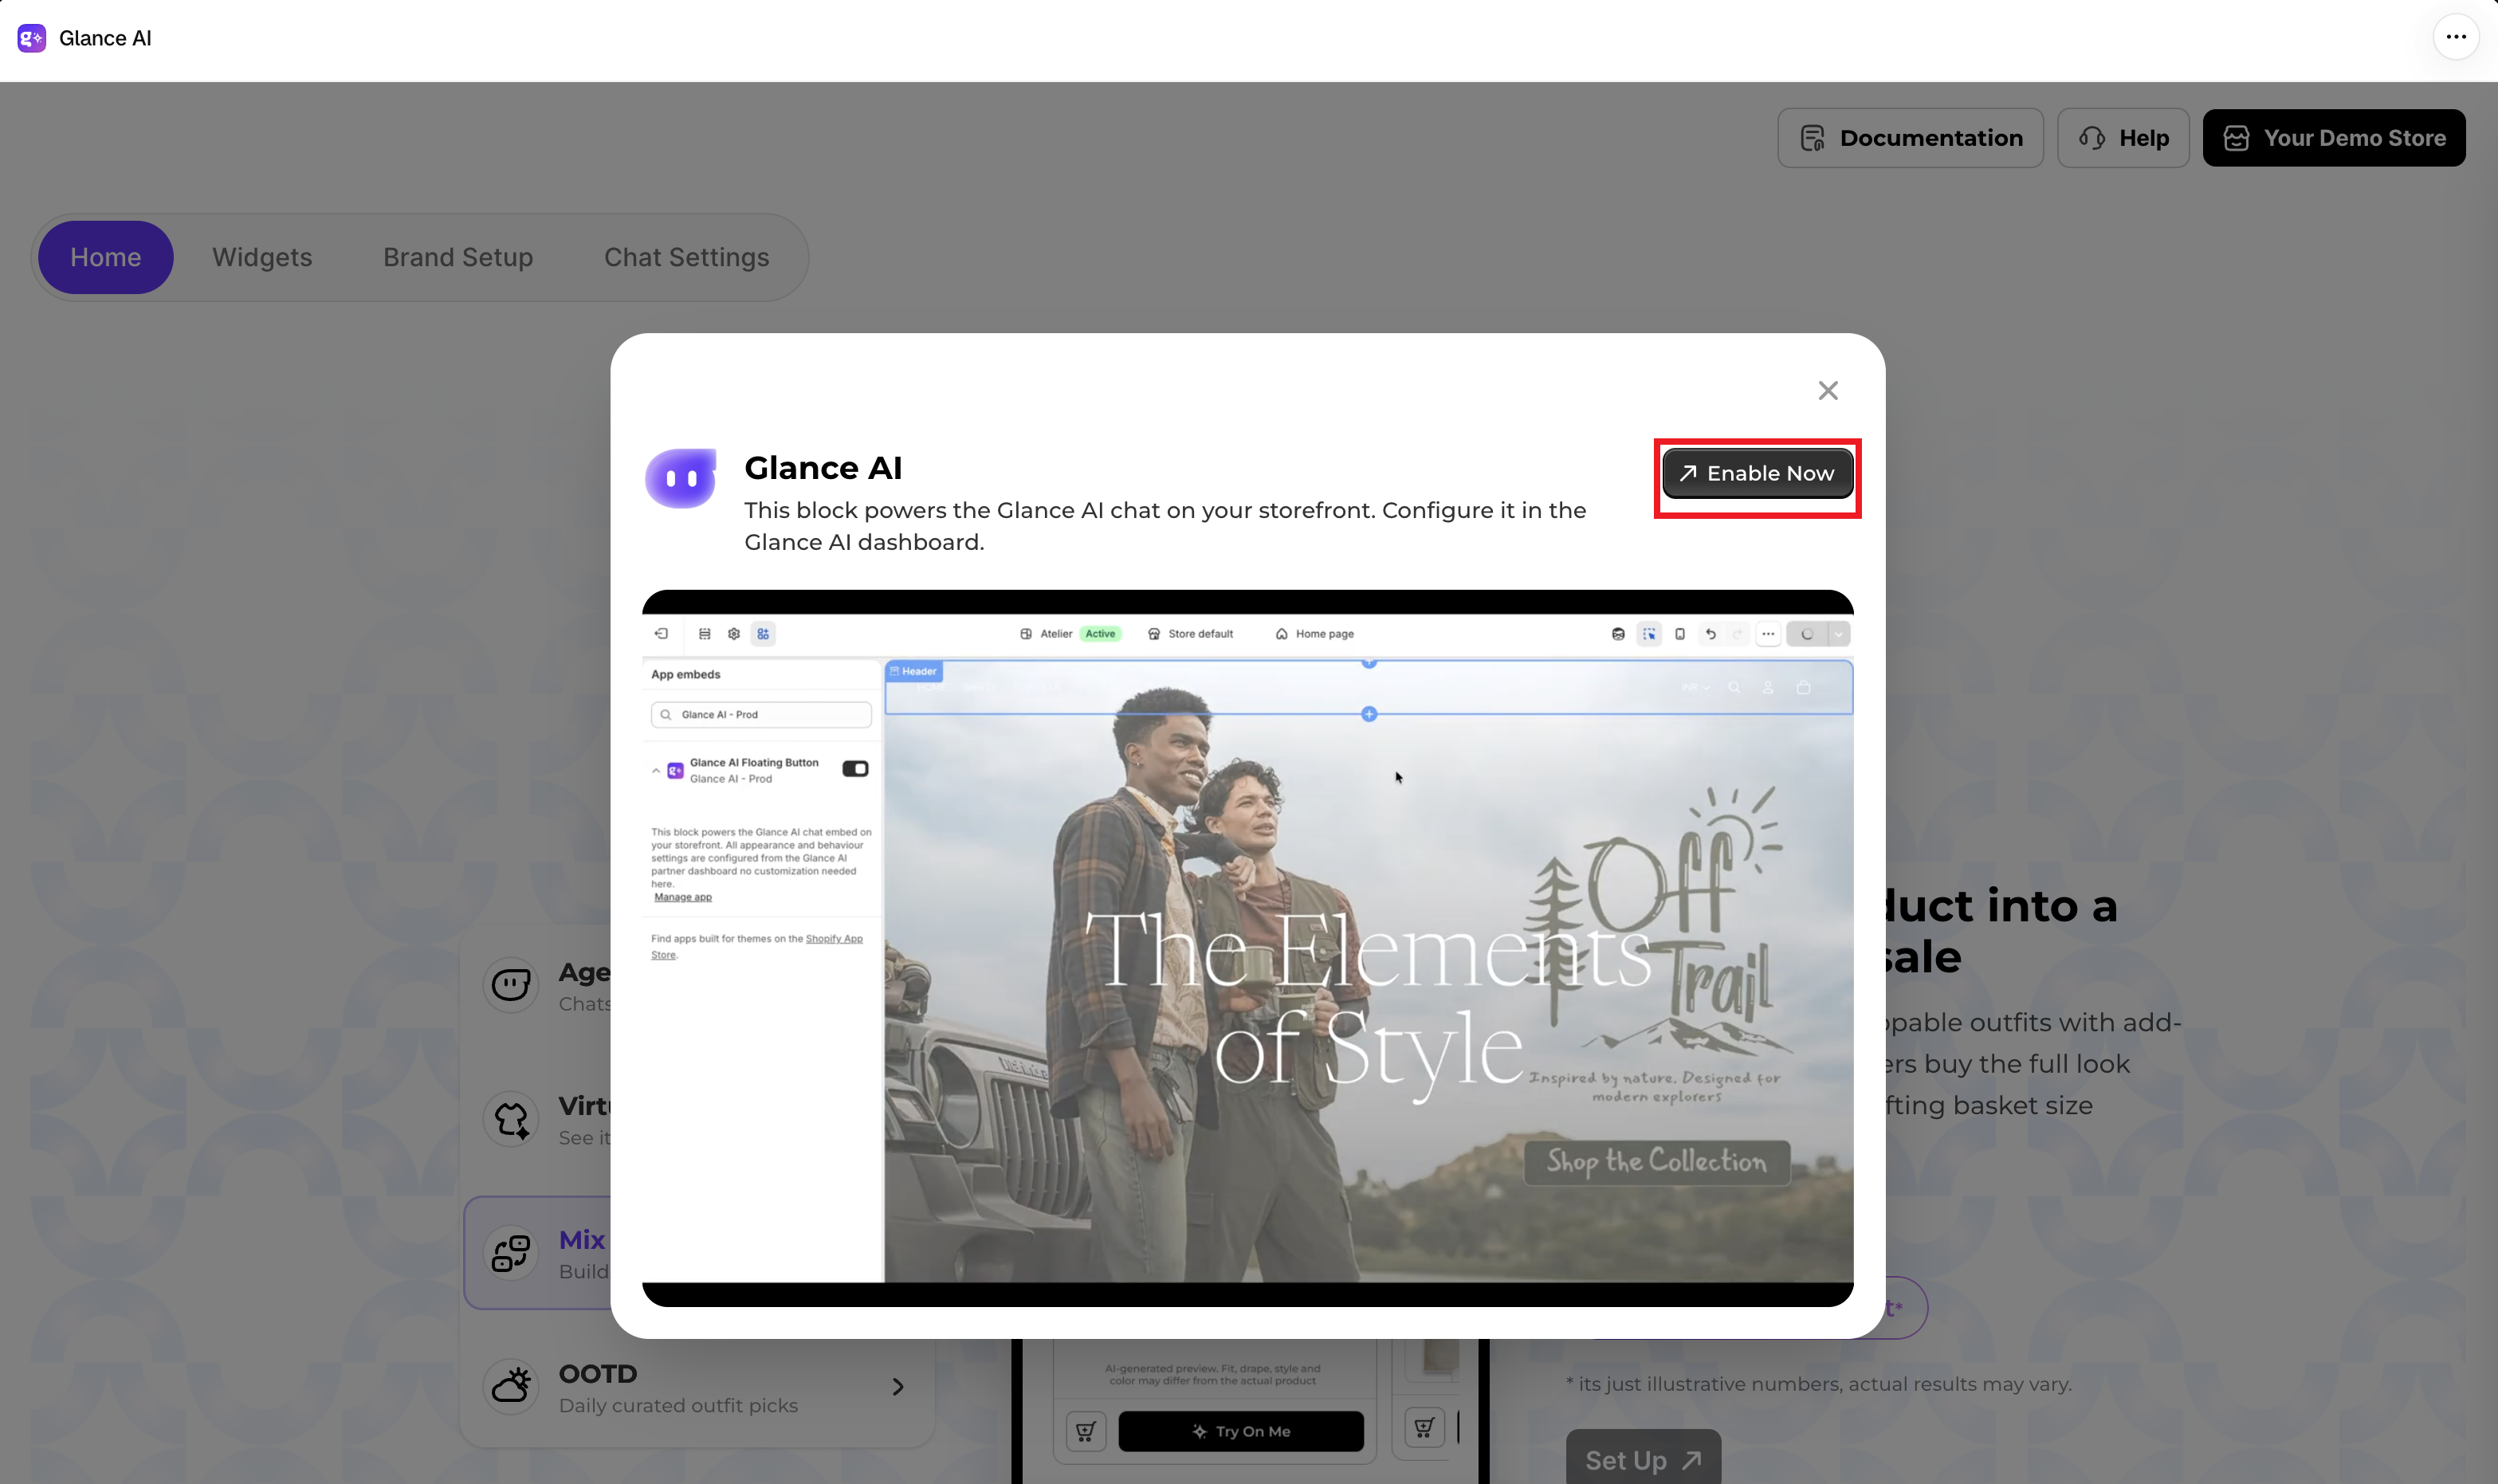
- Click Enable Now. You'll be redirected to your Shopify theme editor settings.
- In the theme editor, toggle the Glance AI Floating Button app embed to on.
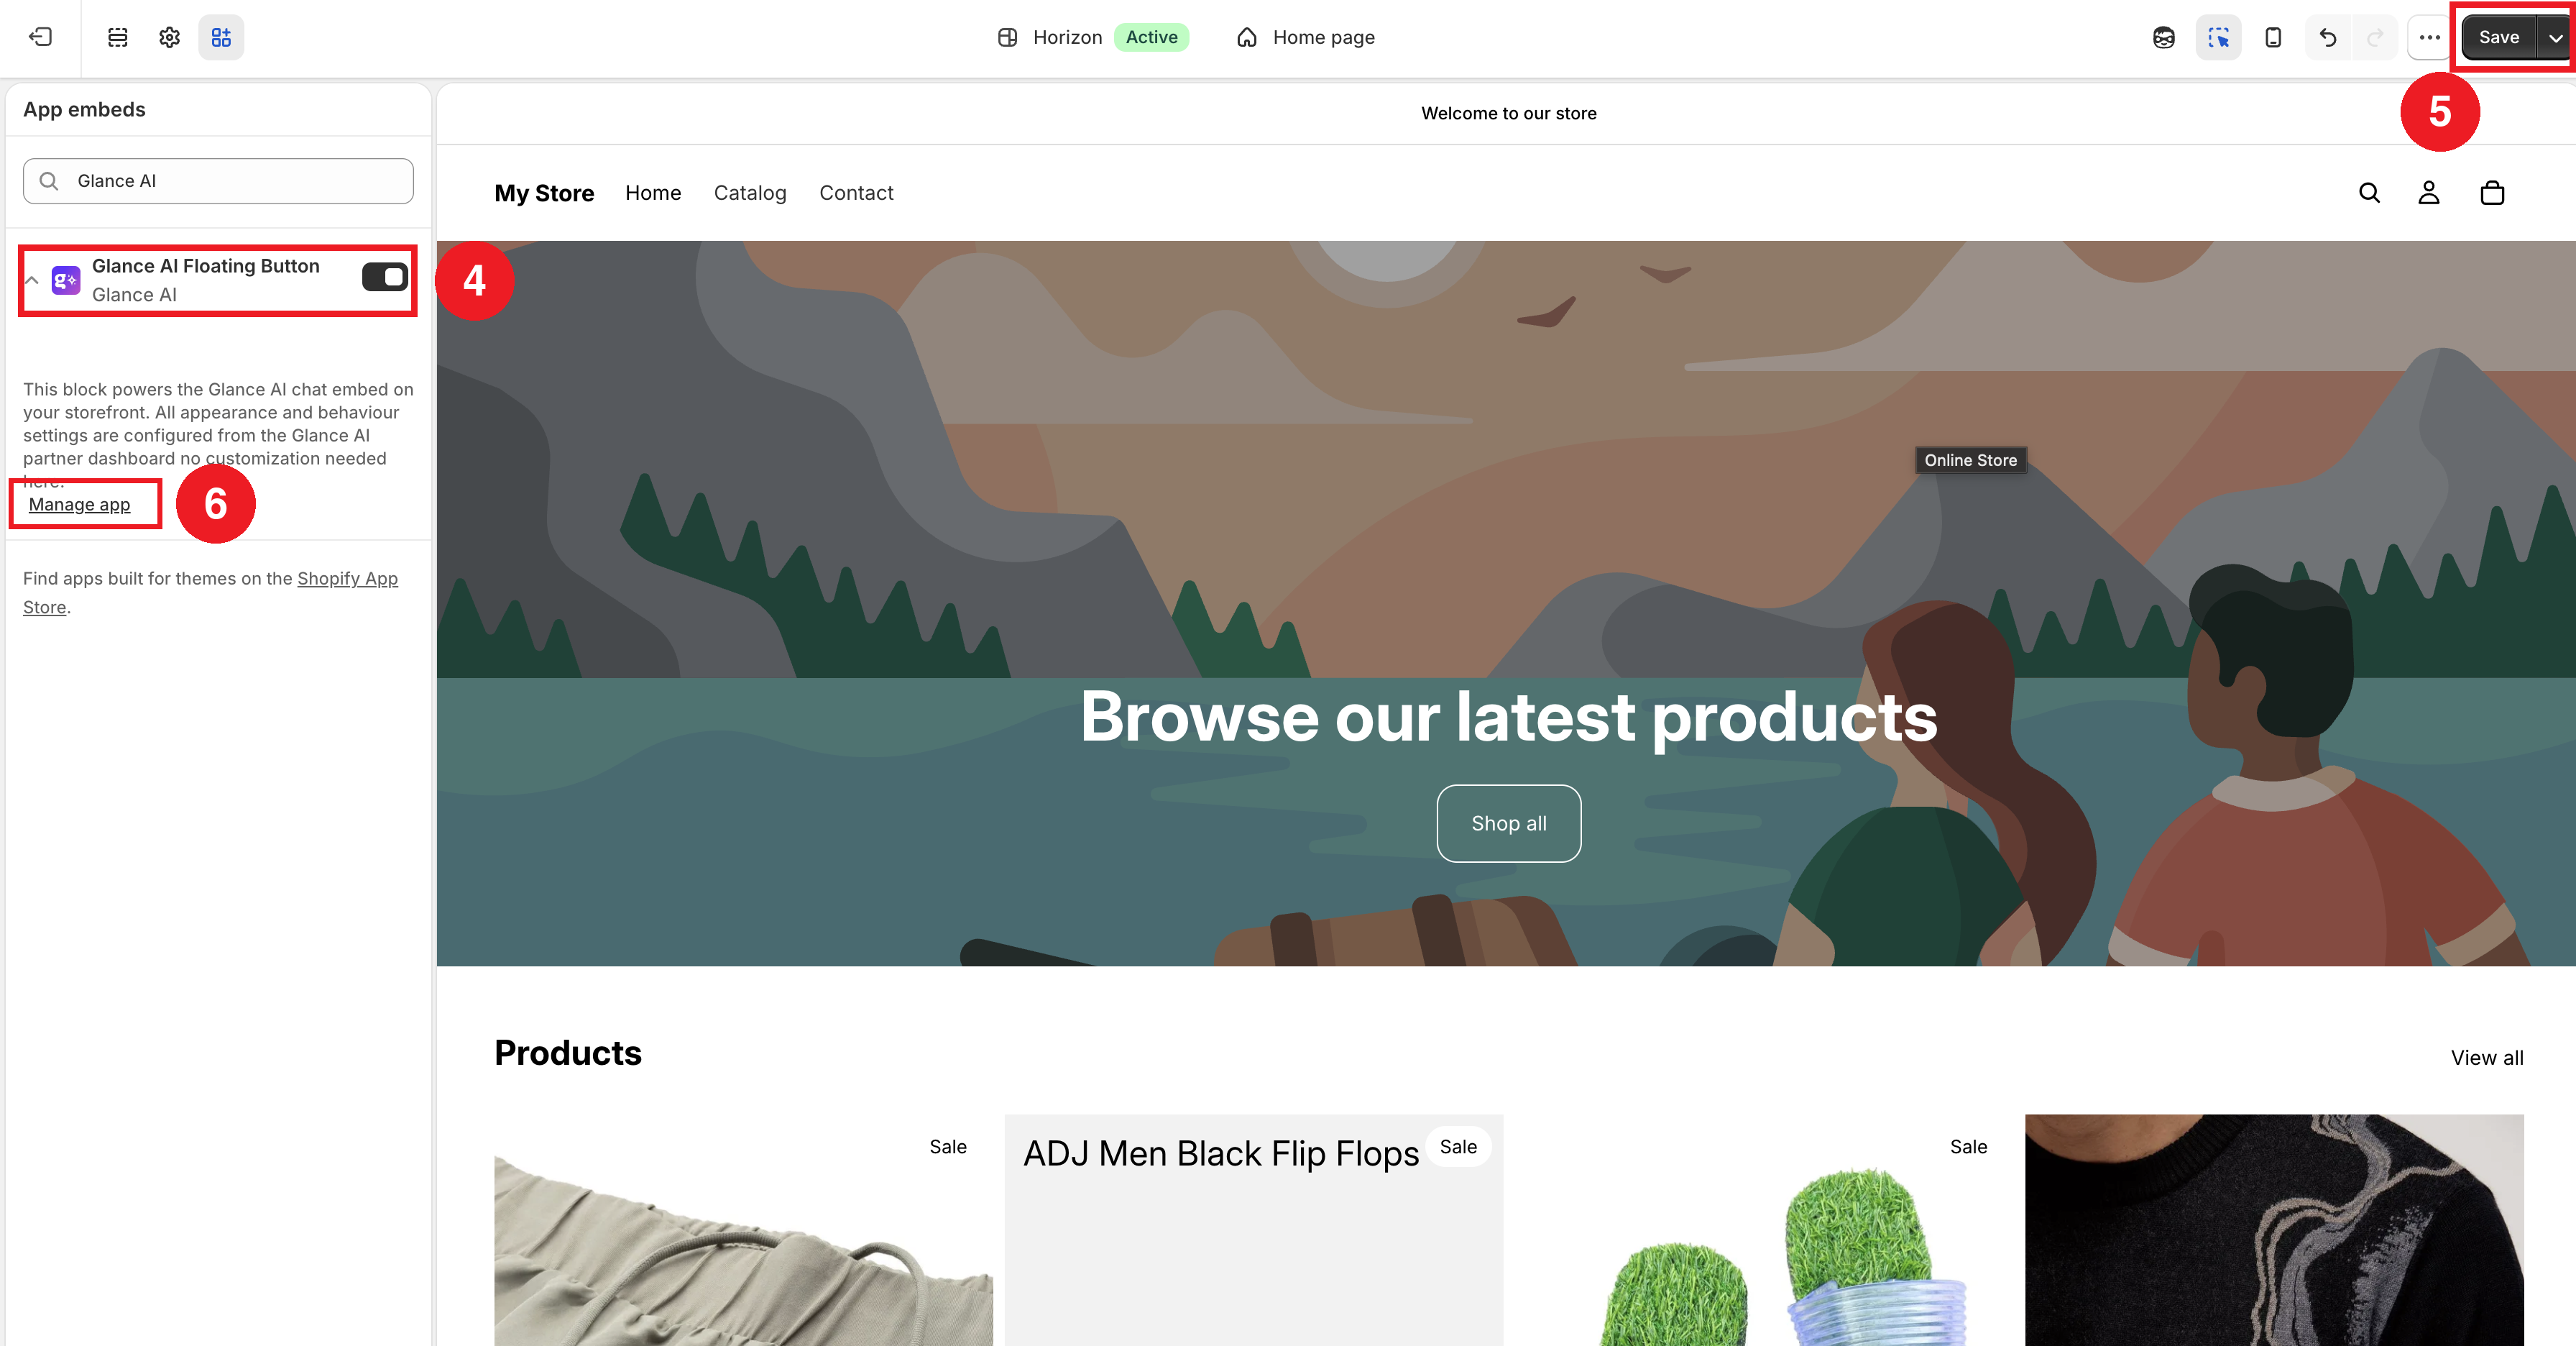
- Click Save in the theme editor to apply the change.
- Click Manage app to return to your Glance home page.
-
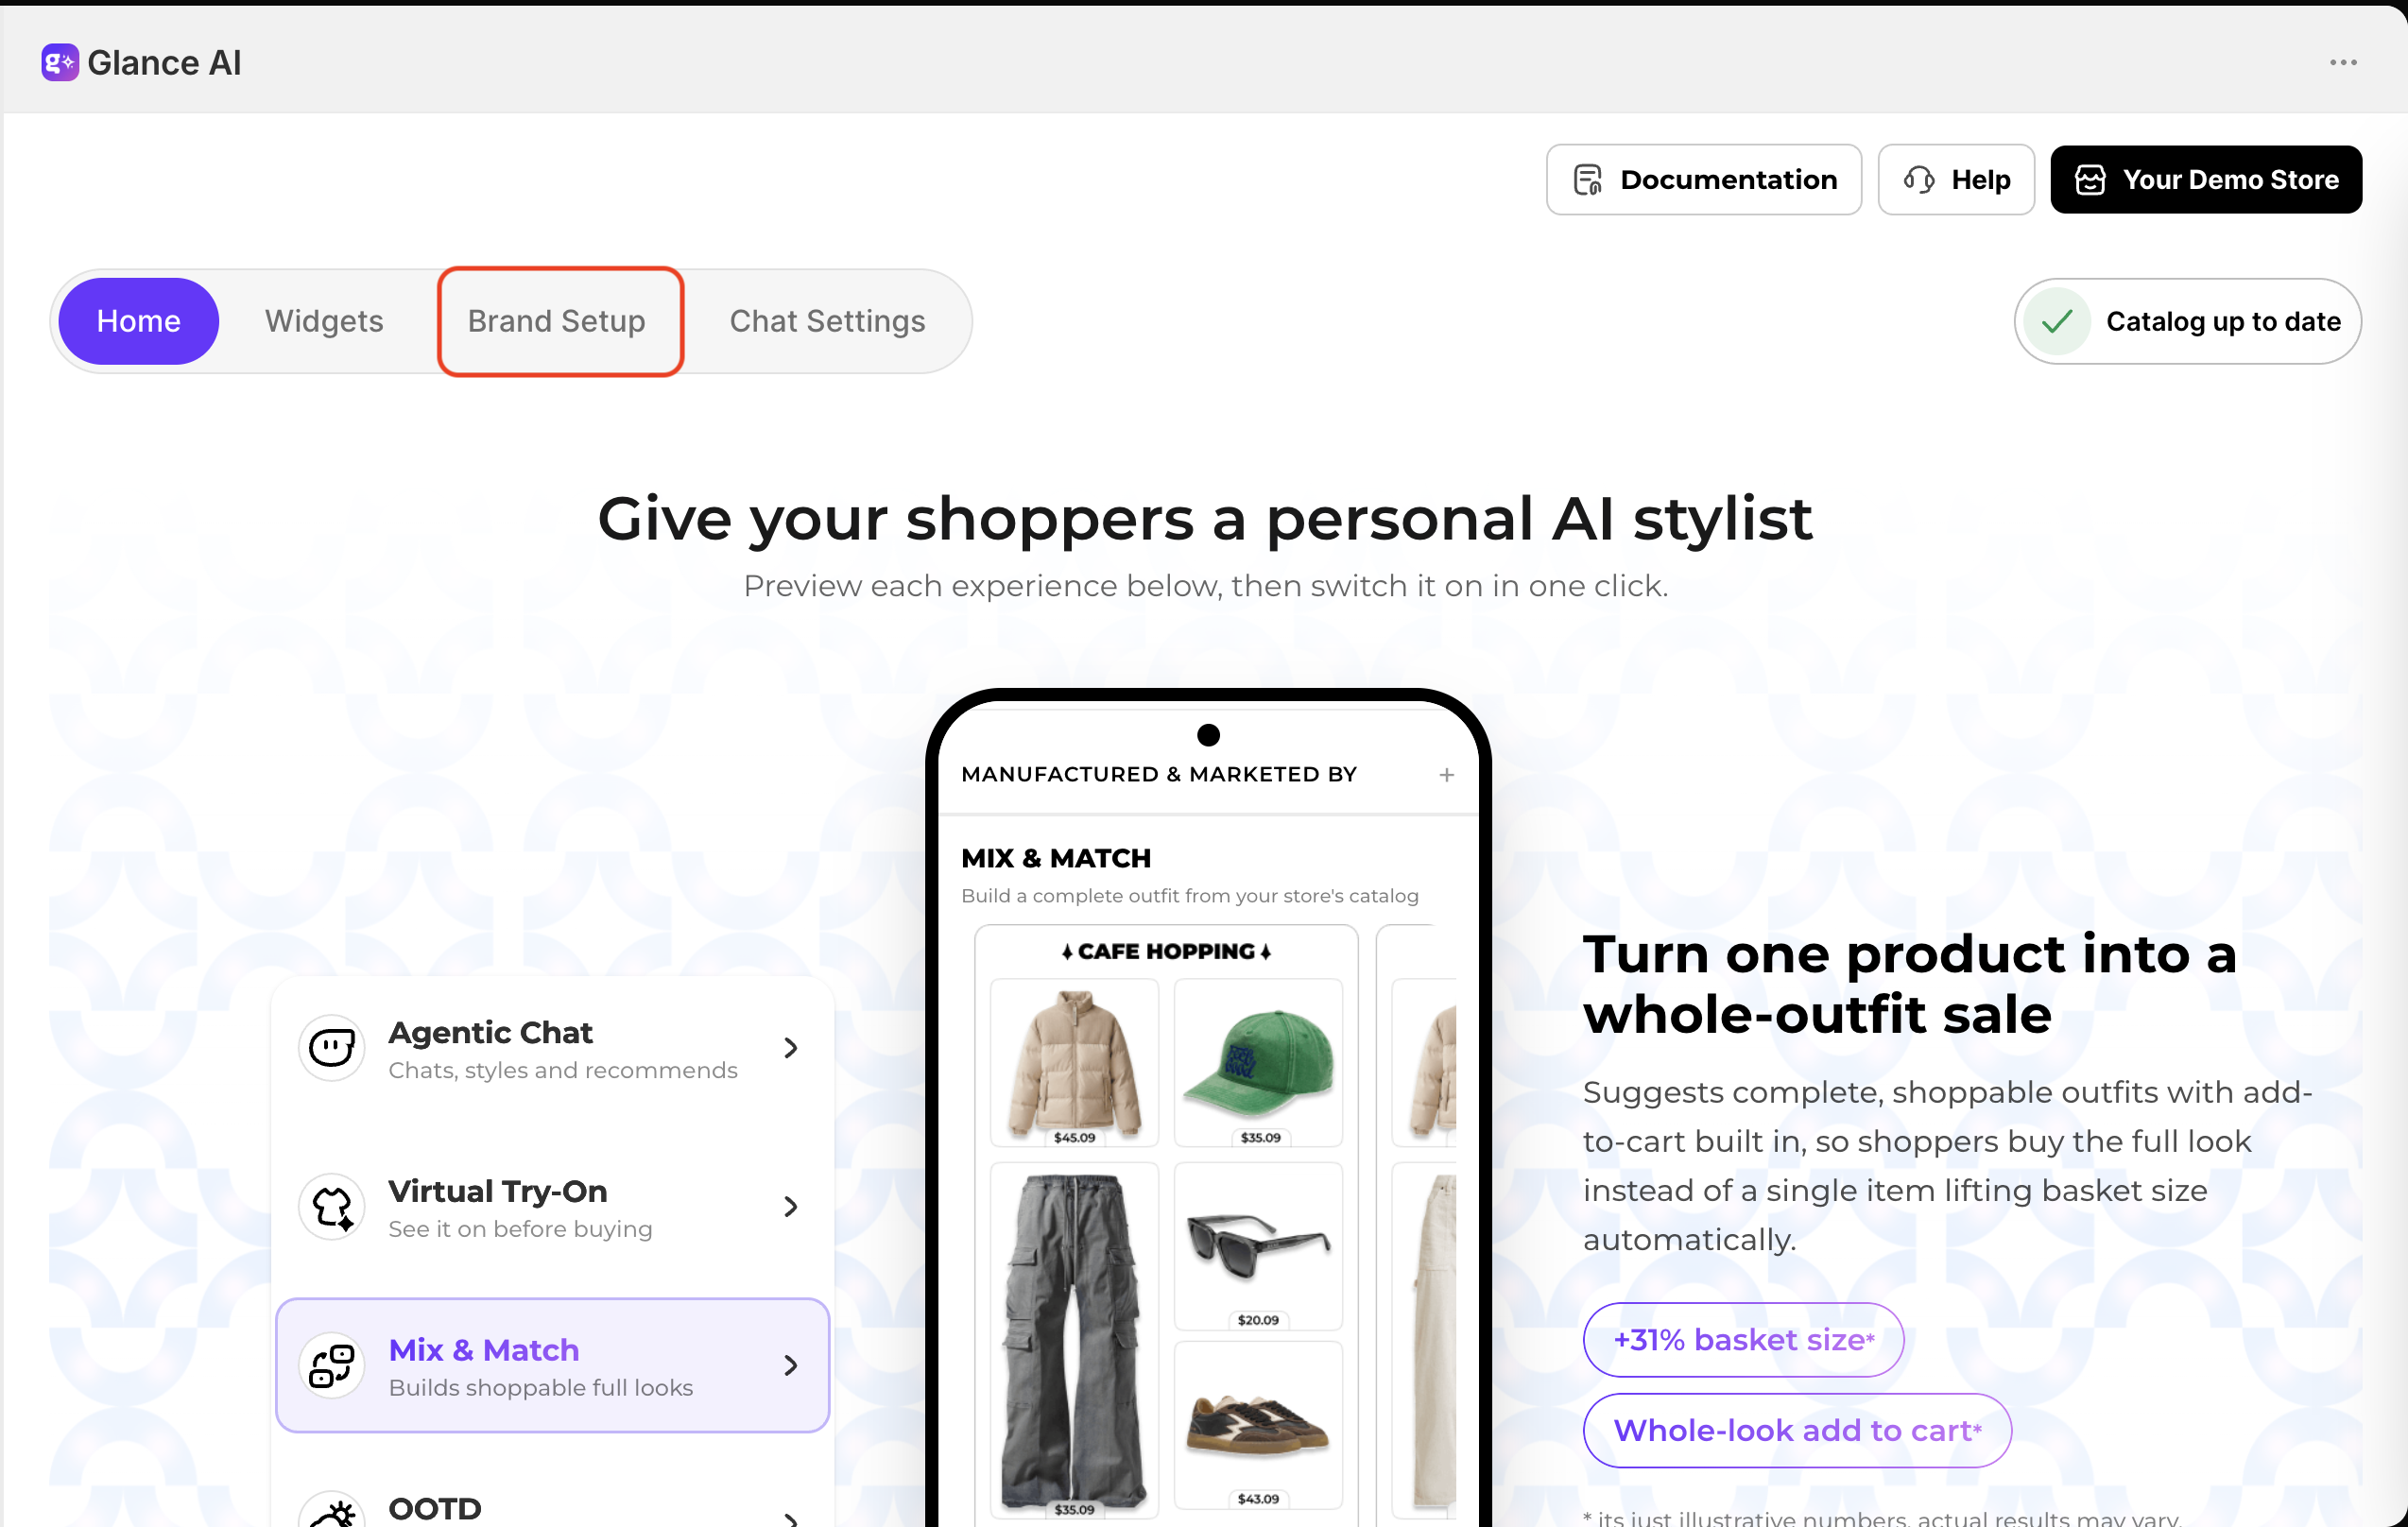
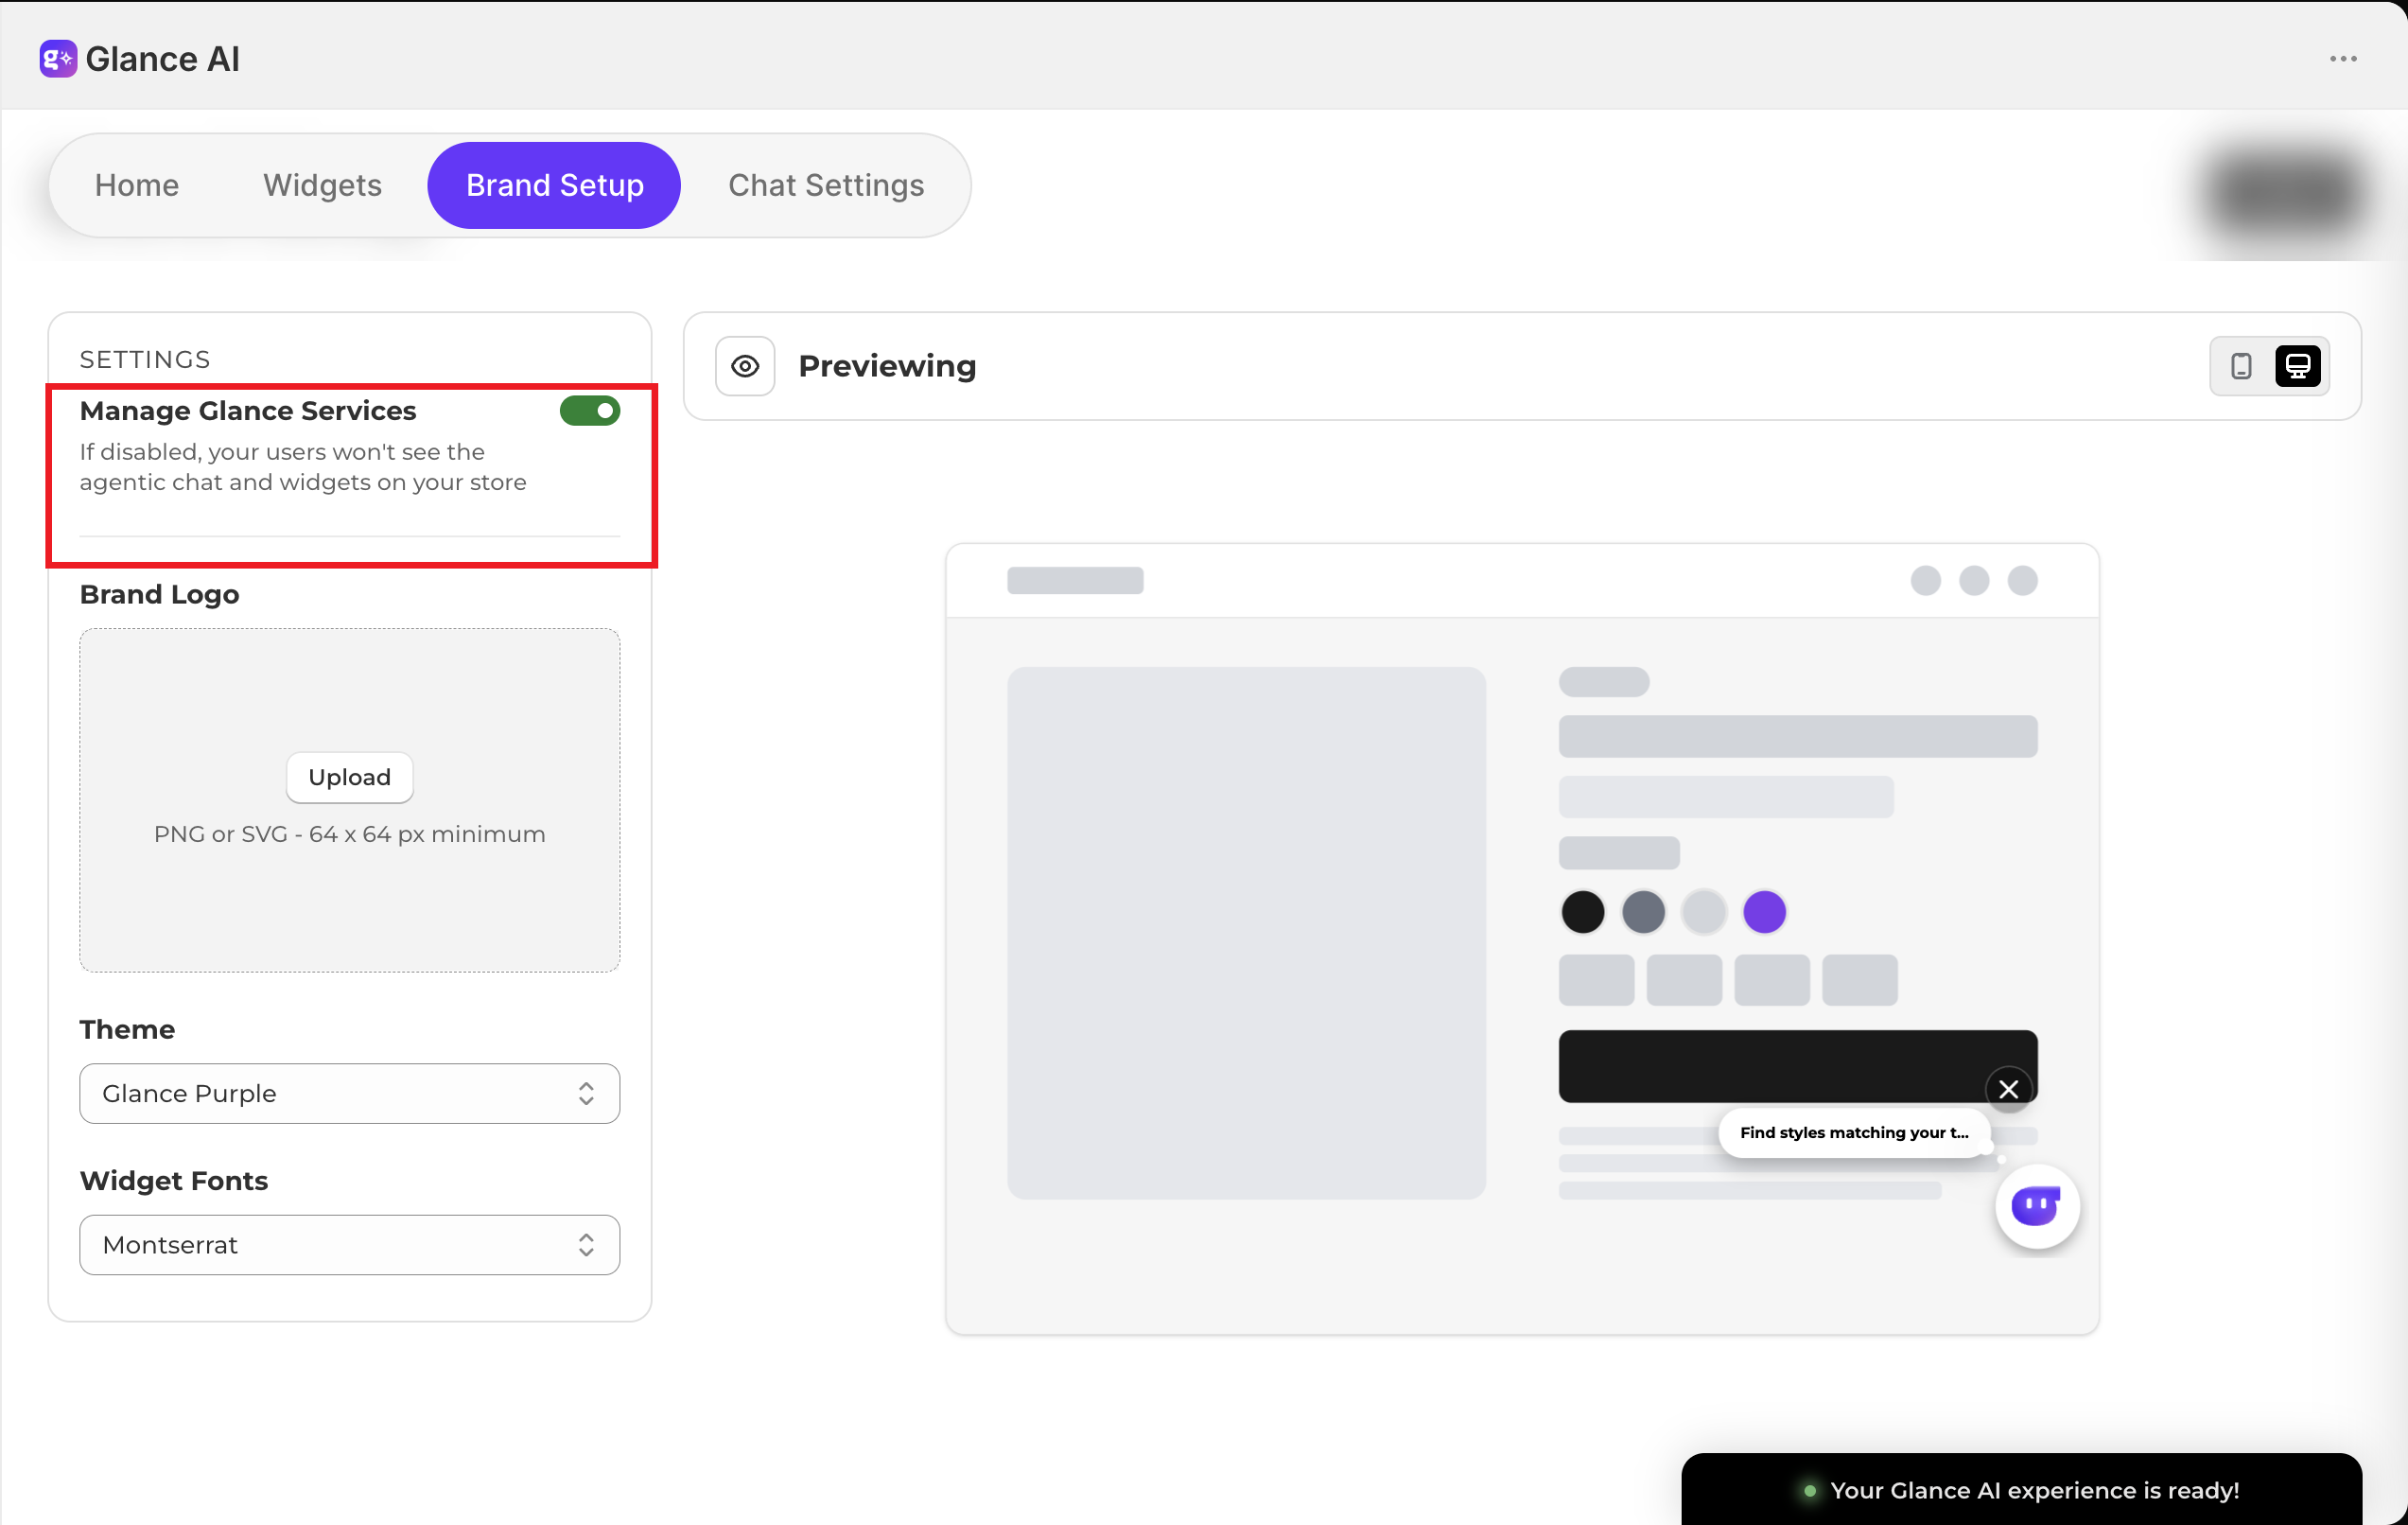
From the Glance dashboard, open the Brand Setup tab in the top navigation.
-
In the SETTINGS card on the left, turn the Manage Glance Services toggle off. As the card notes, when it's disabled your users won't see the agentic chat and widgets on your store.
-
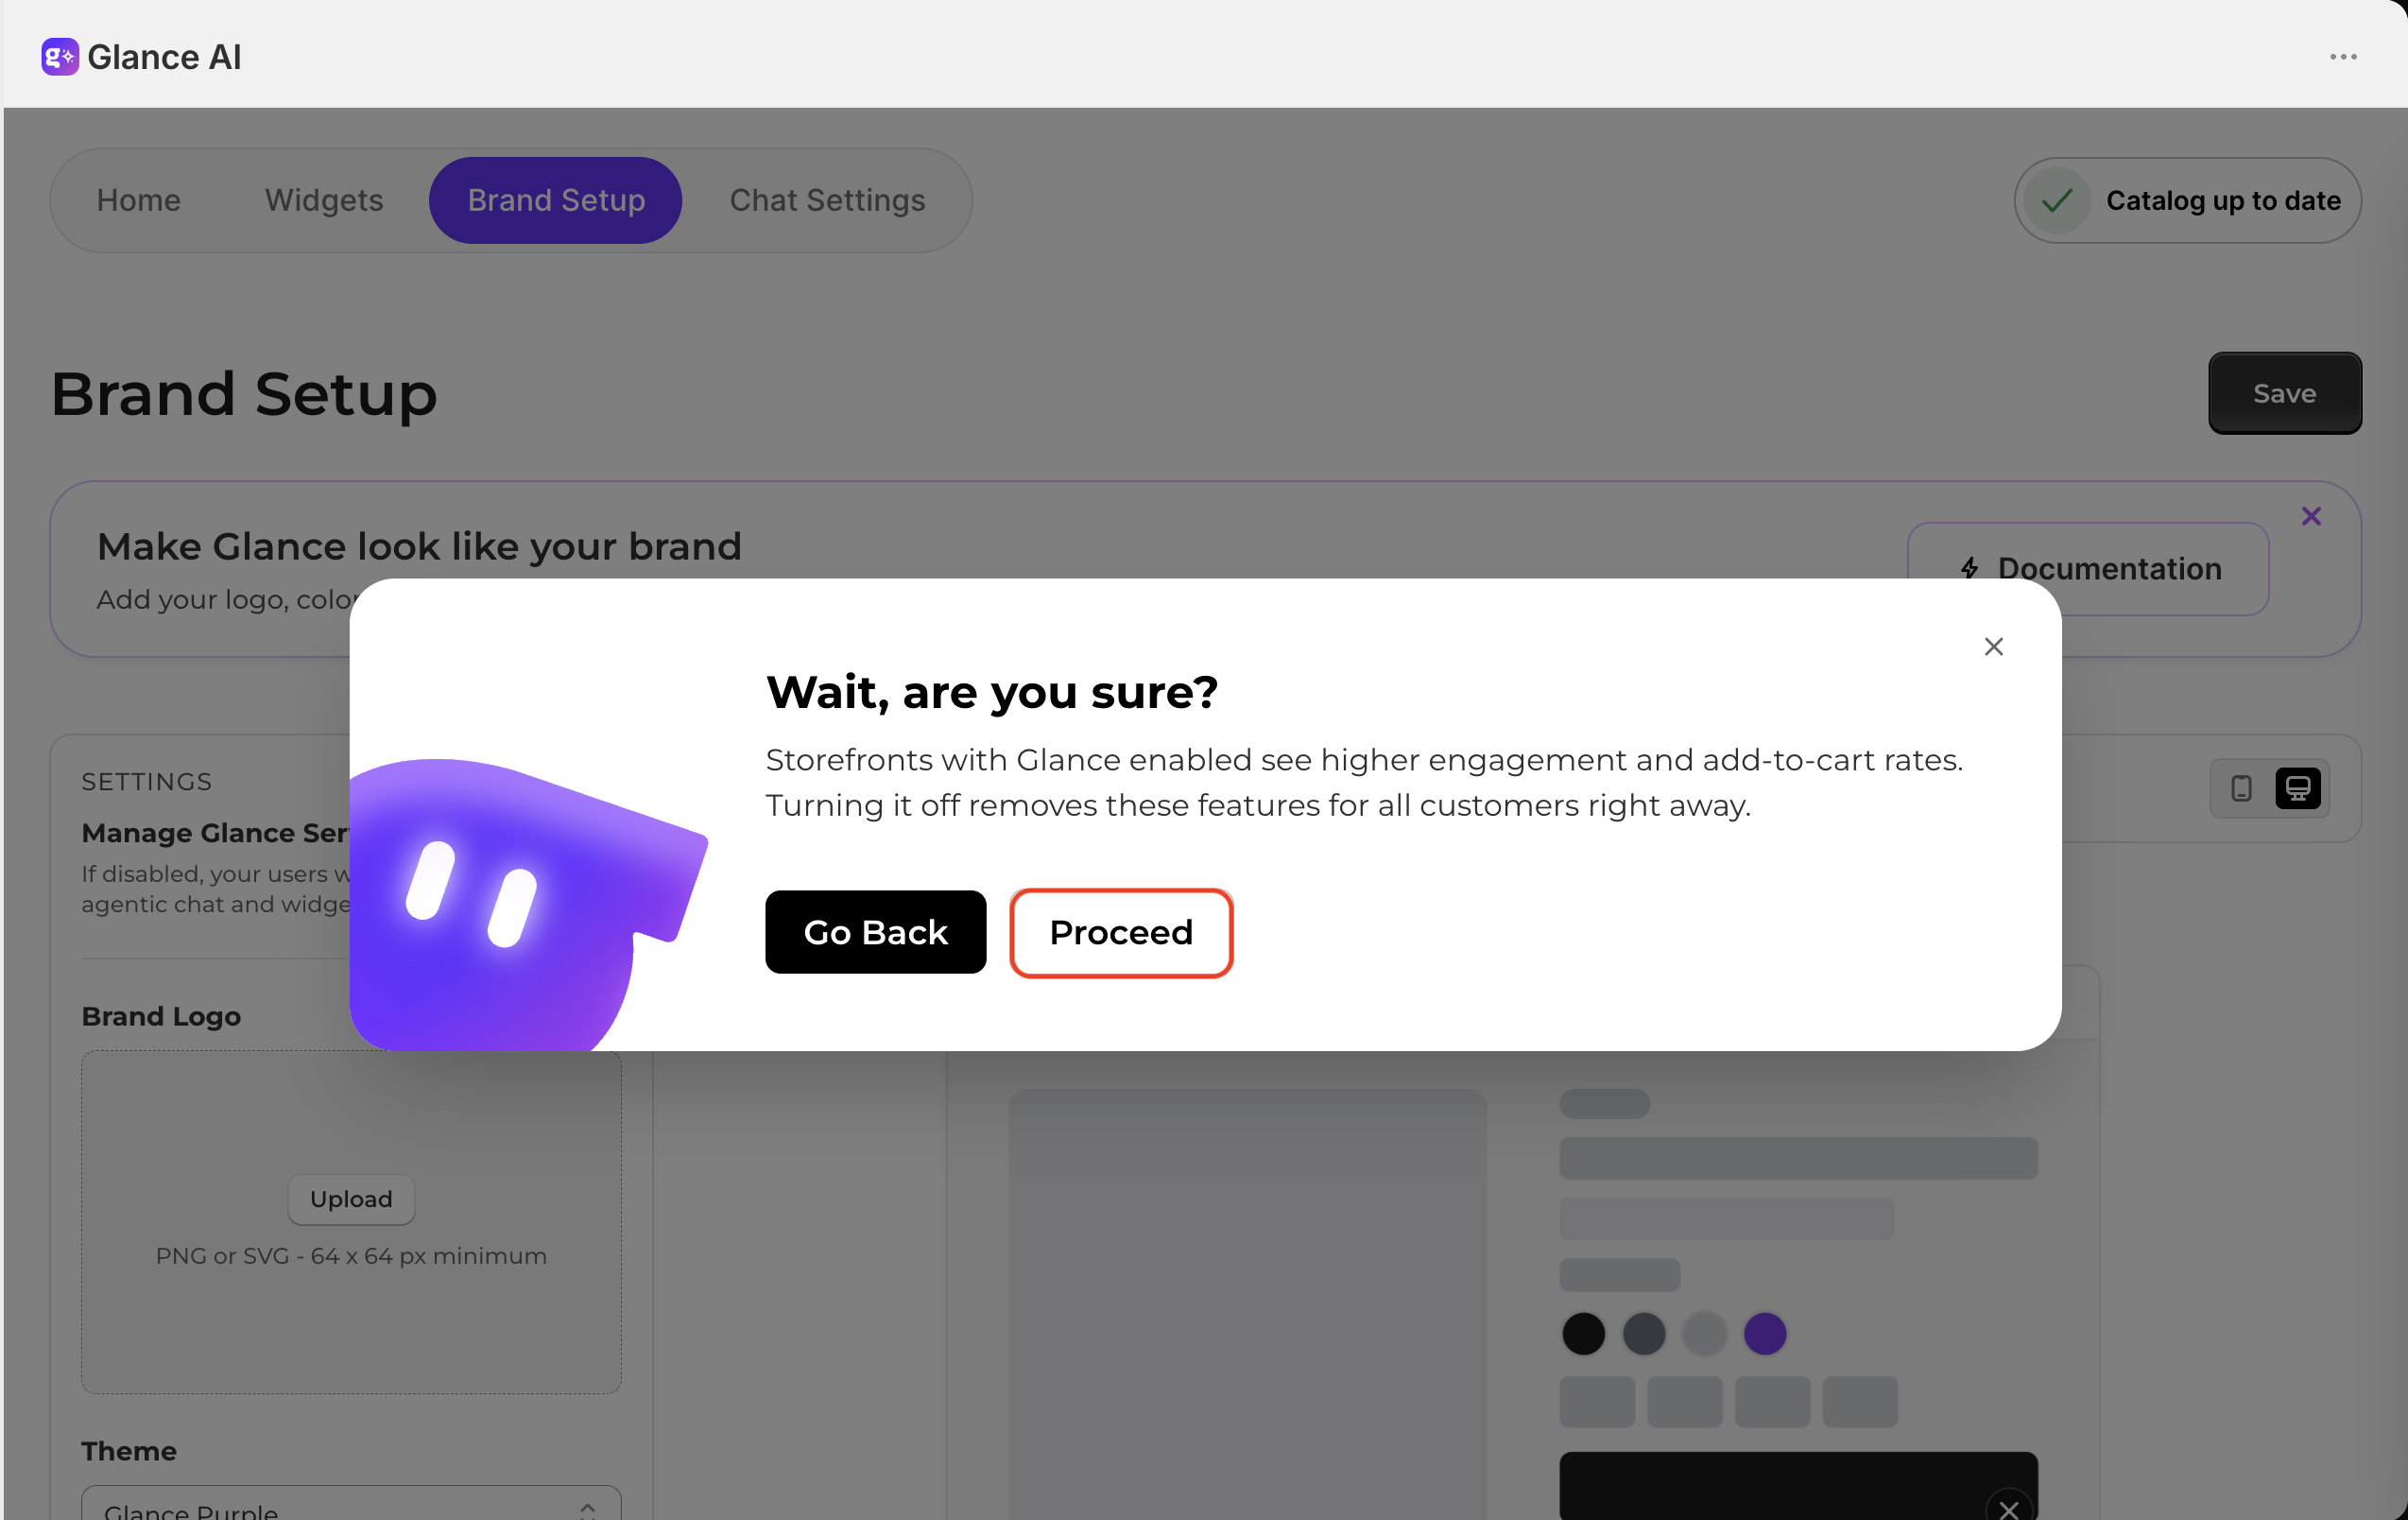
A Wait, are you sure? confirmation appears. Click Proceed to turn the services off, or Go Back to keep them running.
-
Click Save on the Brand Setup page to apply the change.