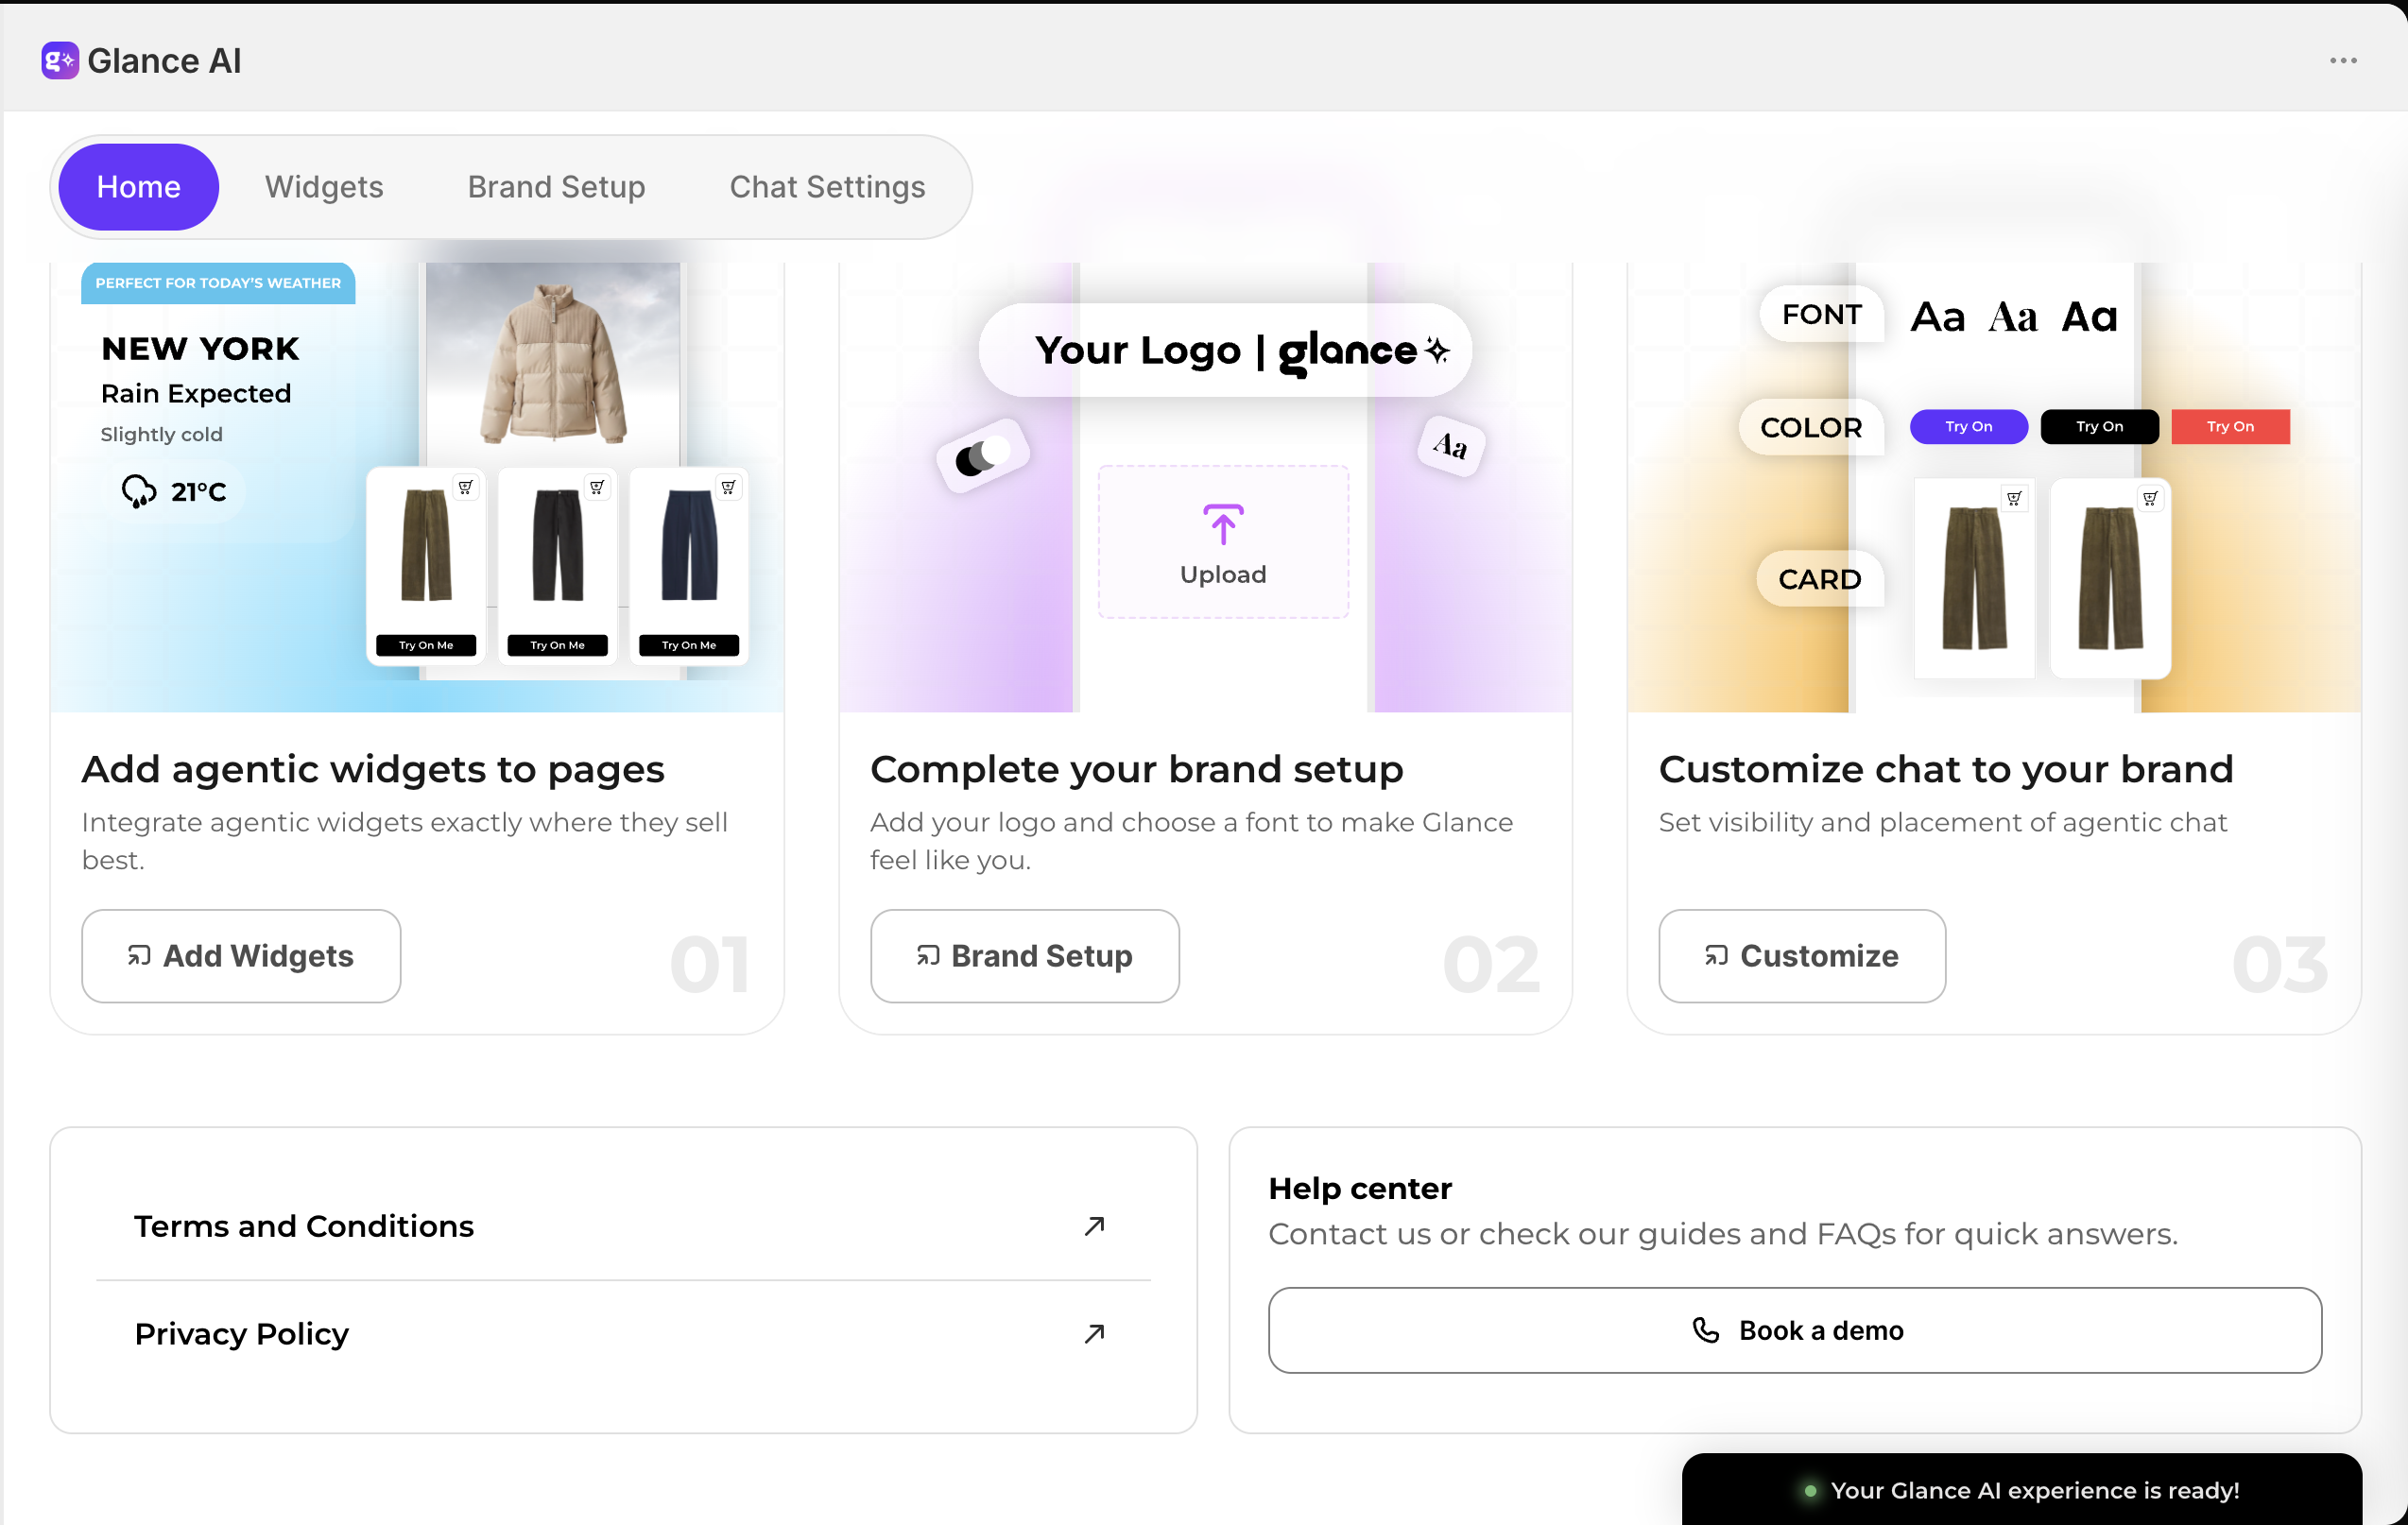
The Home Page
Your Glance home page is the control center for your entire setup. From here you can enable Glance on your storefront, watch your catalog sync in real time, preview widgets, complete the key steps to go live, and reach help whenever you need it.
The sections below follow the page from top to bottom.
The top navigation bar
Three buttons sit at the top of the home page and are available from anywhere:
- Documentation — opens this documentation in a new tab, so the full setup reference is always one click away.
- Help — opens a contact option so you can reach our support team directly over email. Use it any time you get stuck or have a question during setup.
- Your Demo Store — creates a replica of your own Shopify store with Glance already running on it. Use it to preview exactly how Glance will look and behave on your real storefront before you go live — with no risk to your live store.
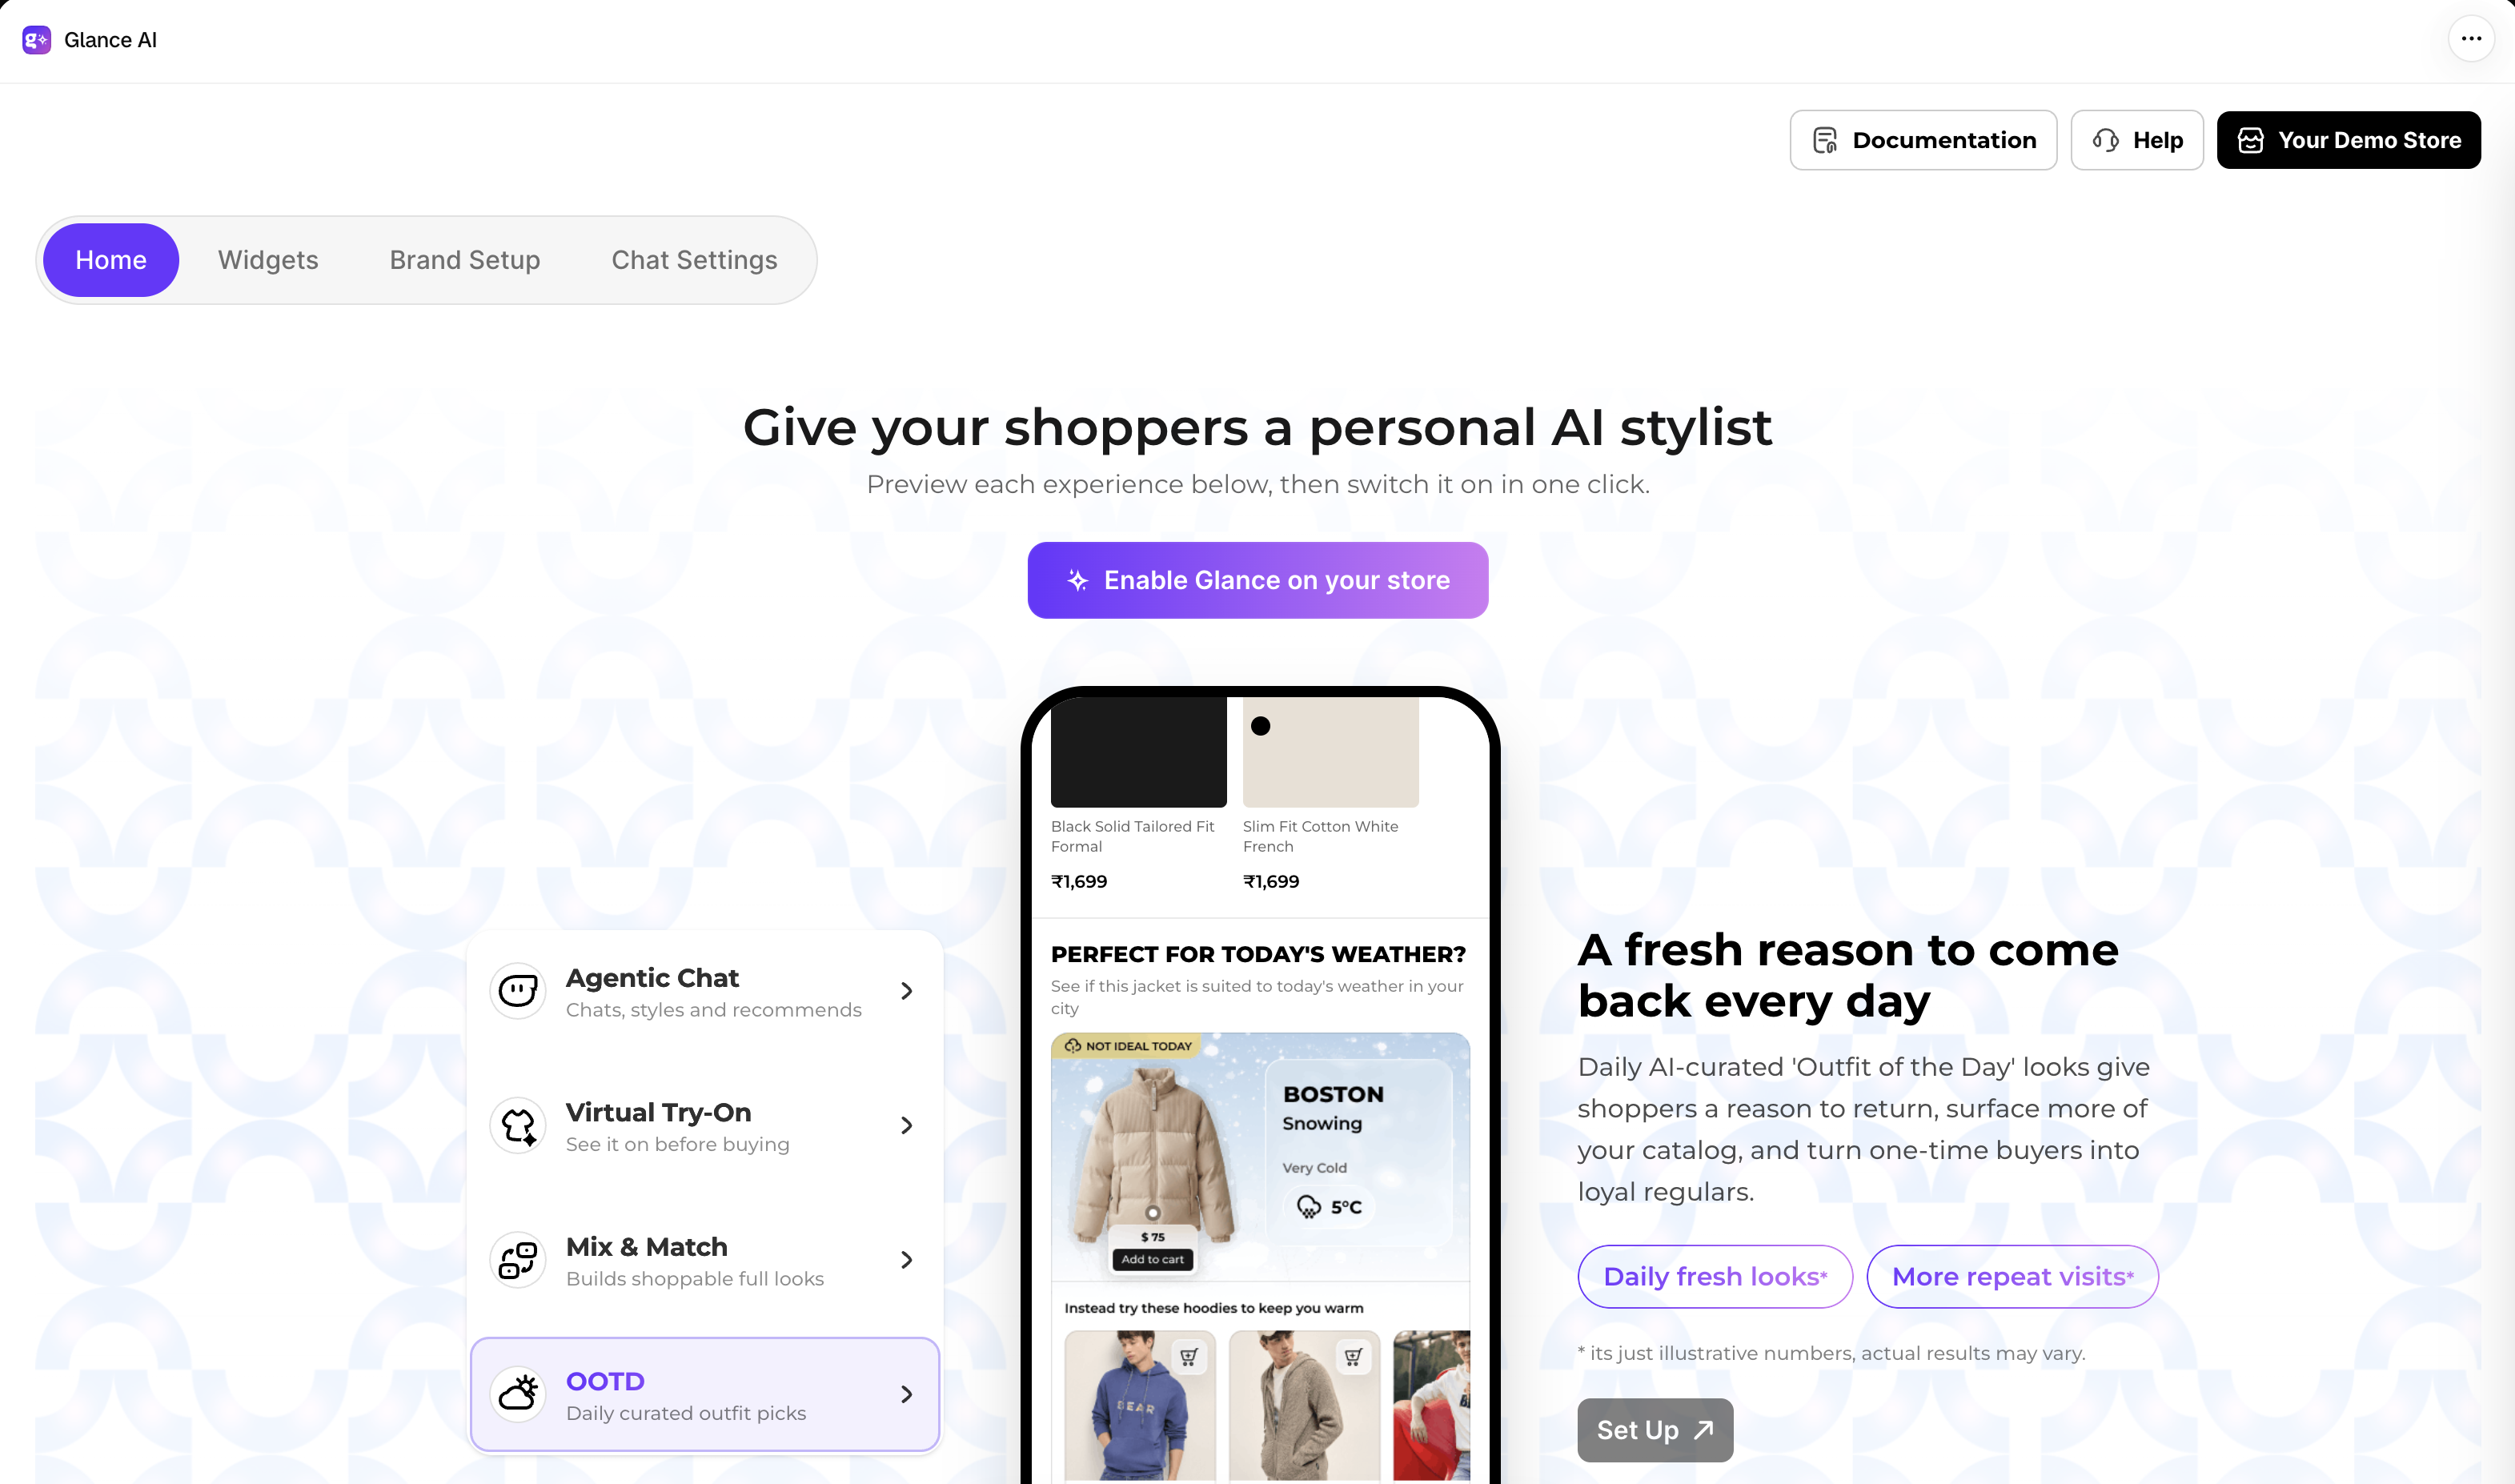
Enable Glance on your store
Enabling Glance is the action that turns the assistant and widgets on for your live storefront. It only takes a moment.
- On the home page, click Enable Glance on your store.
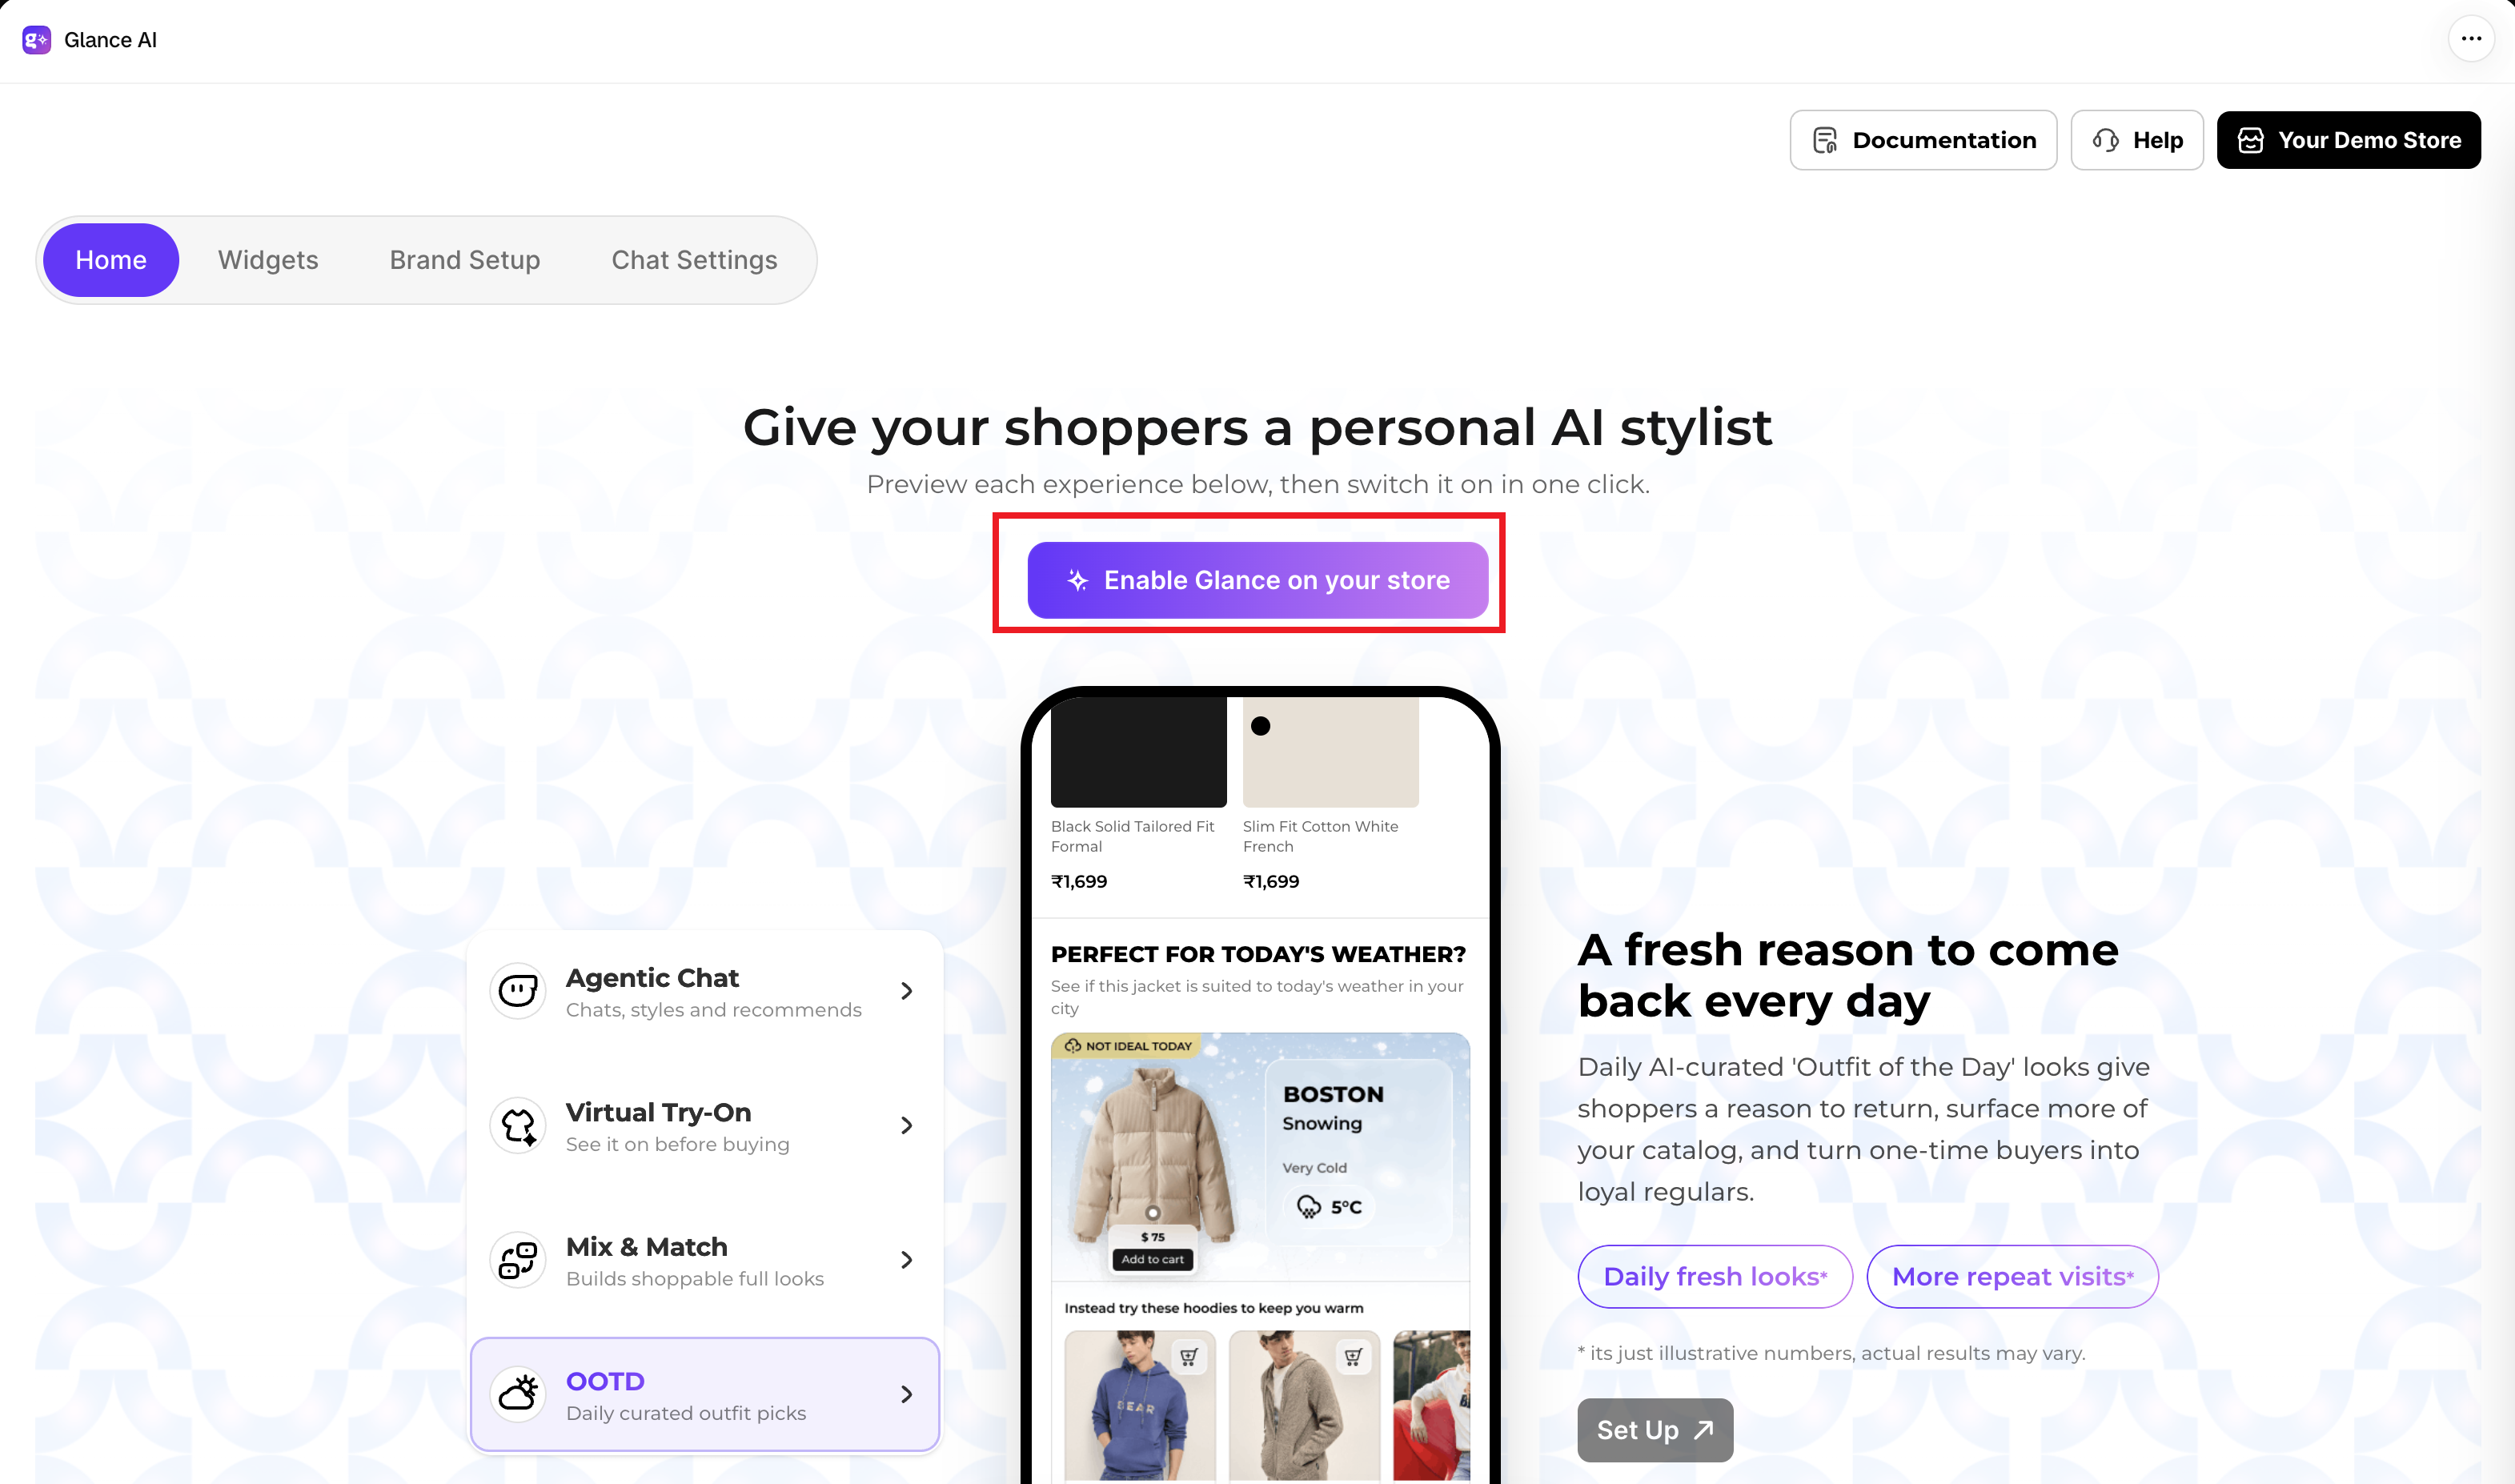
- A popup opens with an Enable Now button and a preview of the app embed you'll turn on.
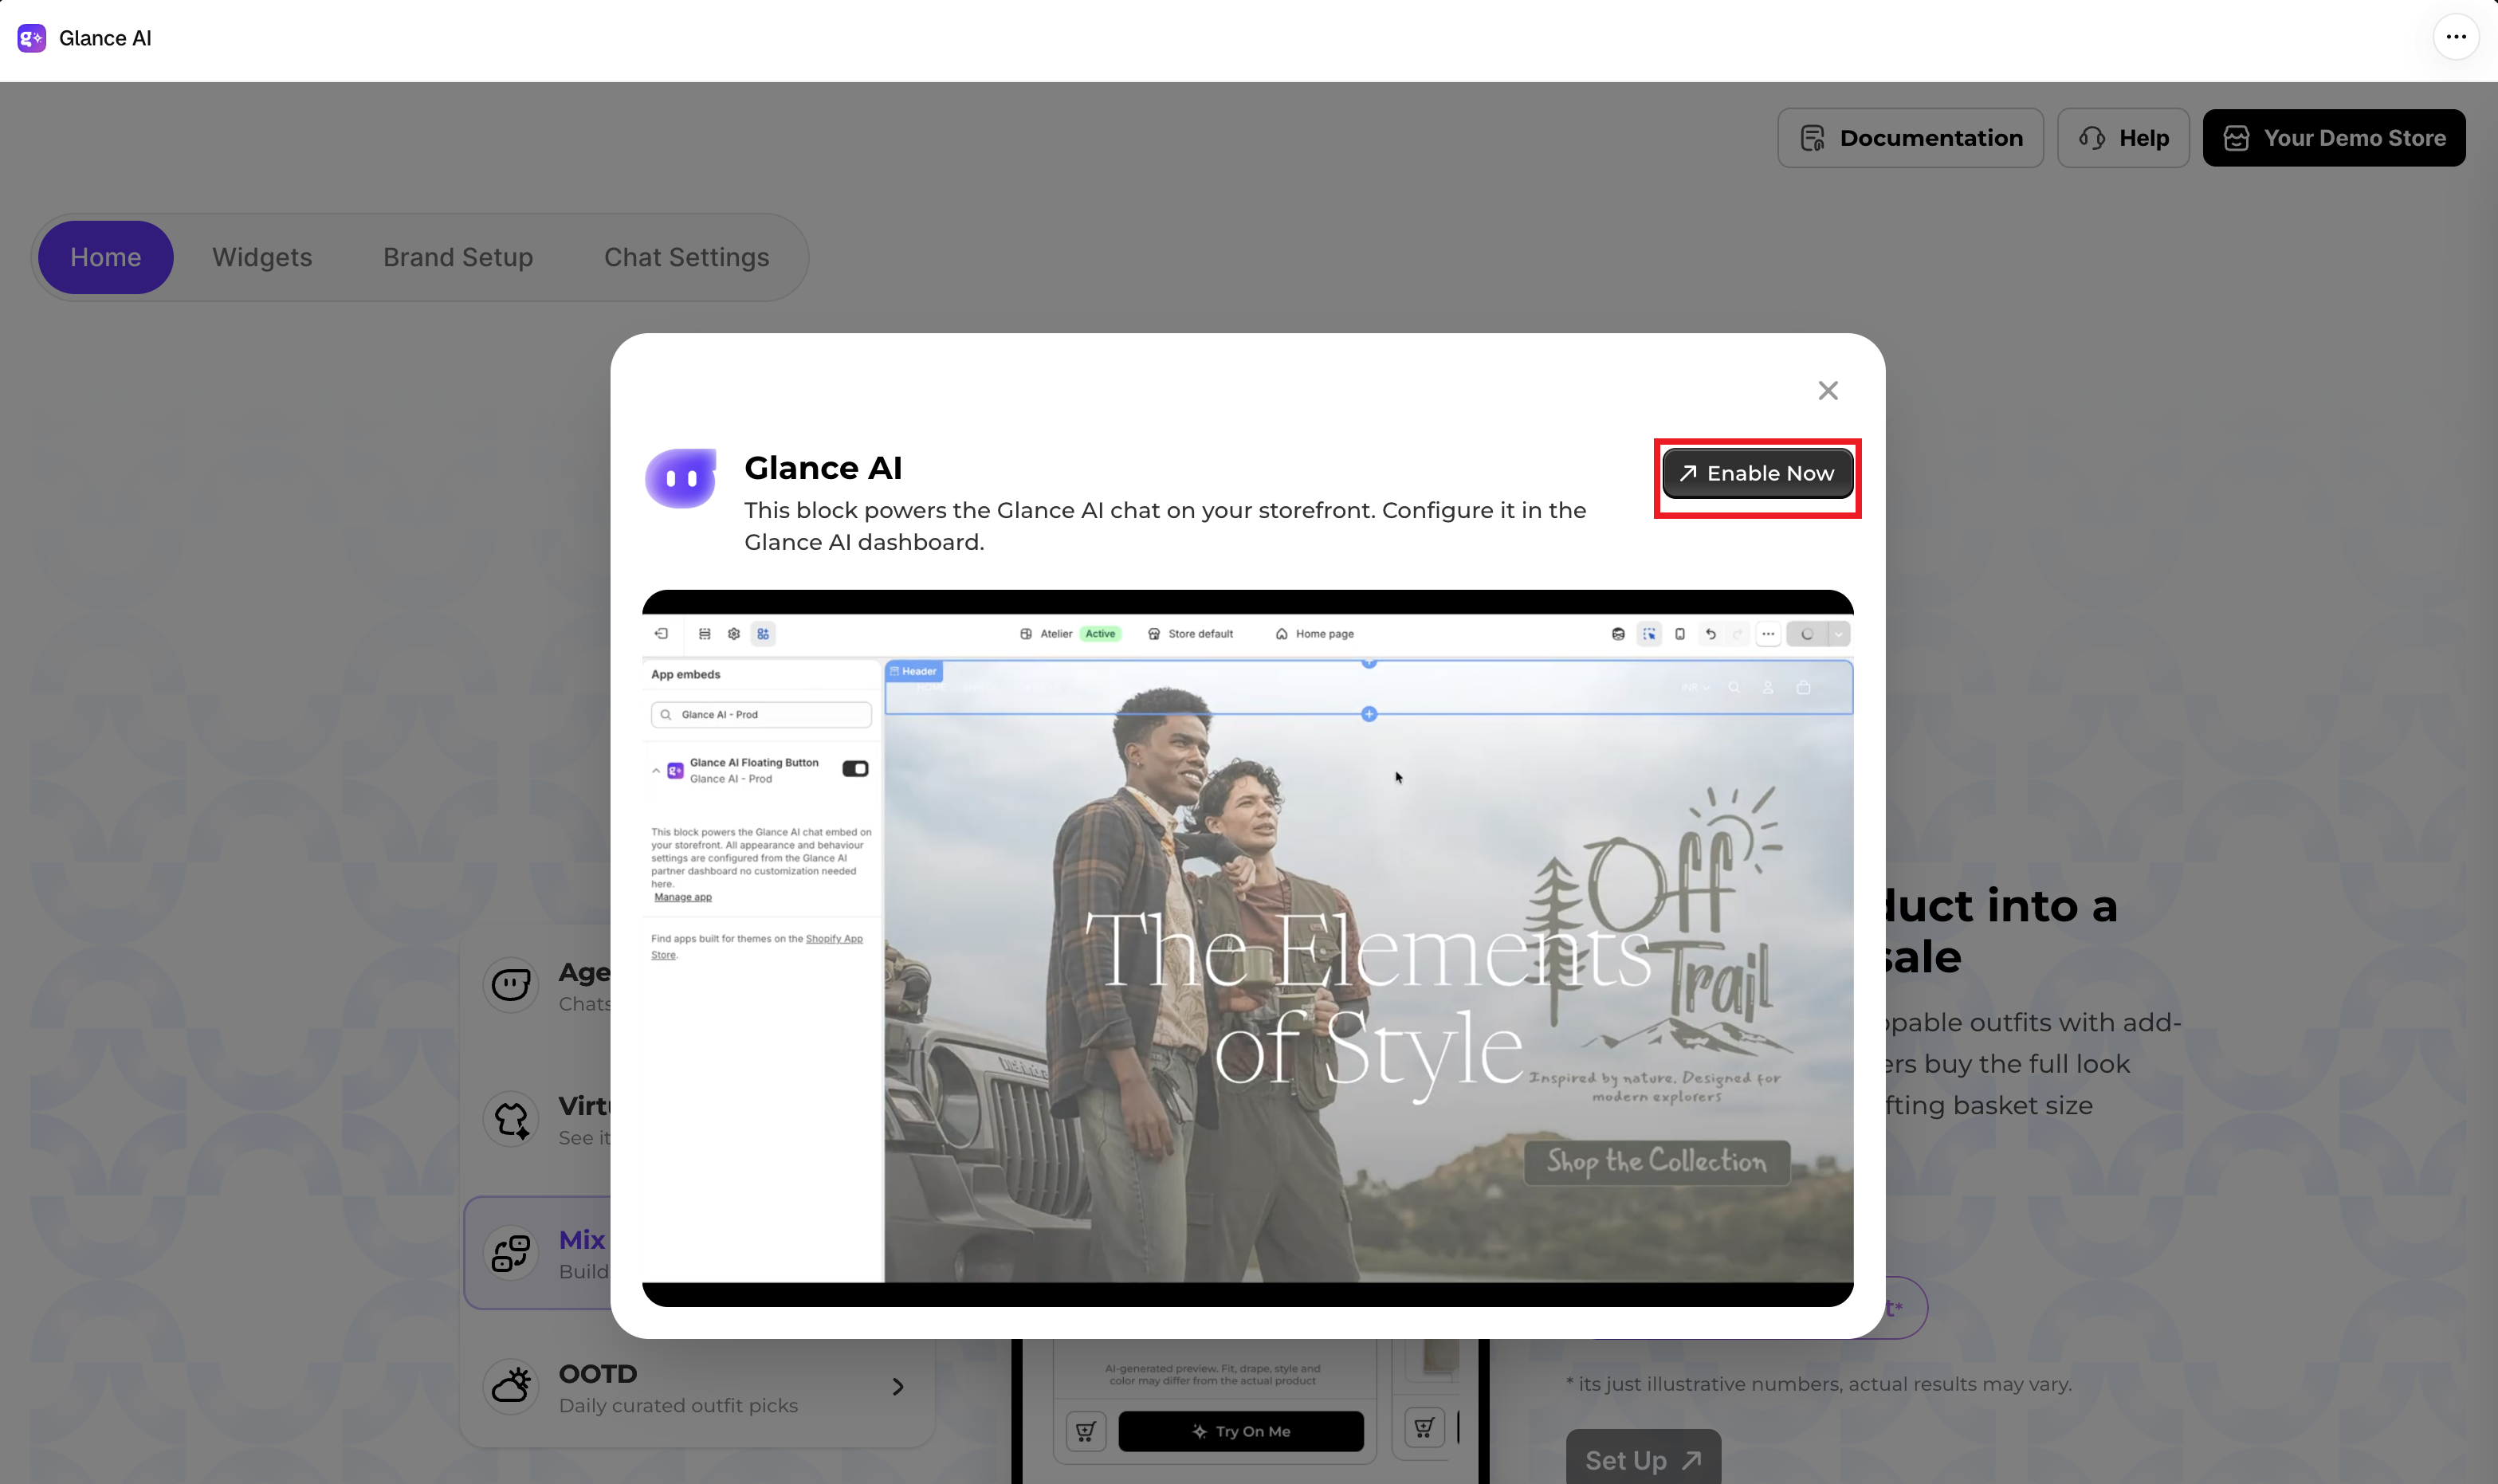
- Click Enable Now. You'll be redirected to your Shopify theme editor settings.
- In the theme editor, toggle the Glance AI Floating Button app embed to on.
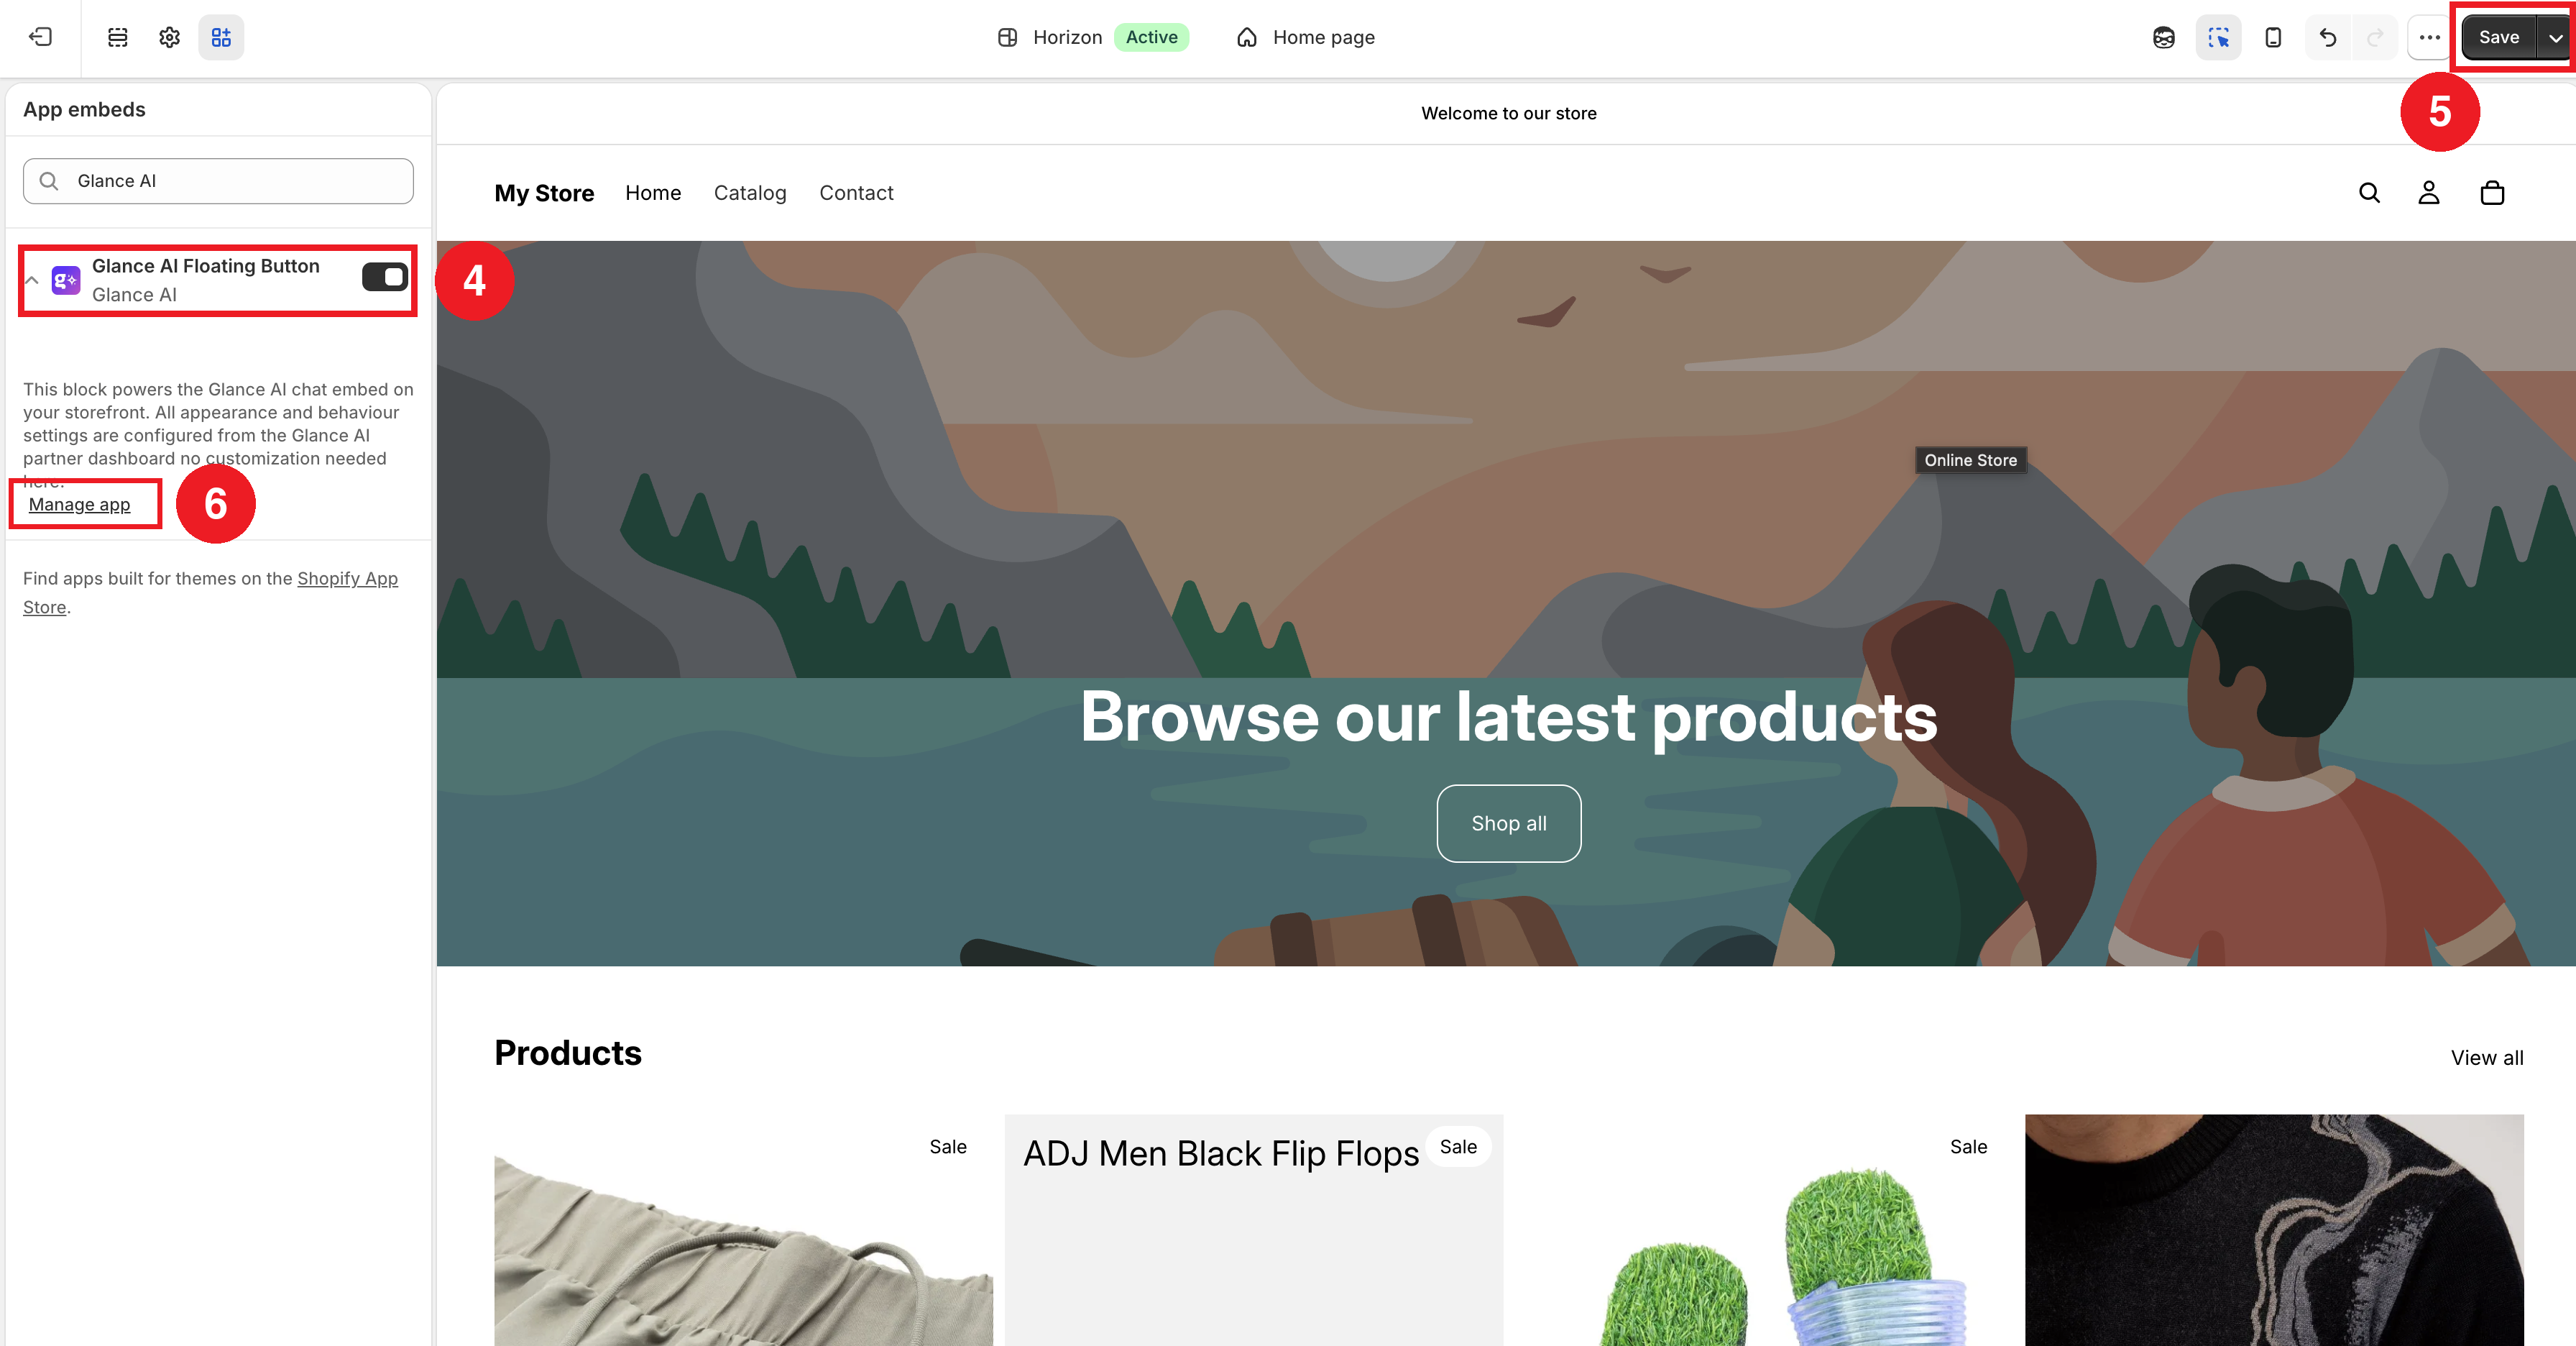
- Click Save in the theme editor to apply the change.
- Click Manage app to return to your Glance home page.
Once you're back, Glance AI is enabled and running on your store.
Don't forget to Save
The app embed only takes effect after you click Save in the theme editor. If you're editing a draft theme, remember to publish it so shoppers can see Glance.
Track your catalog sync
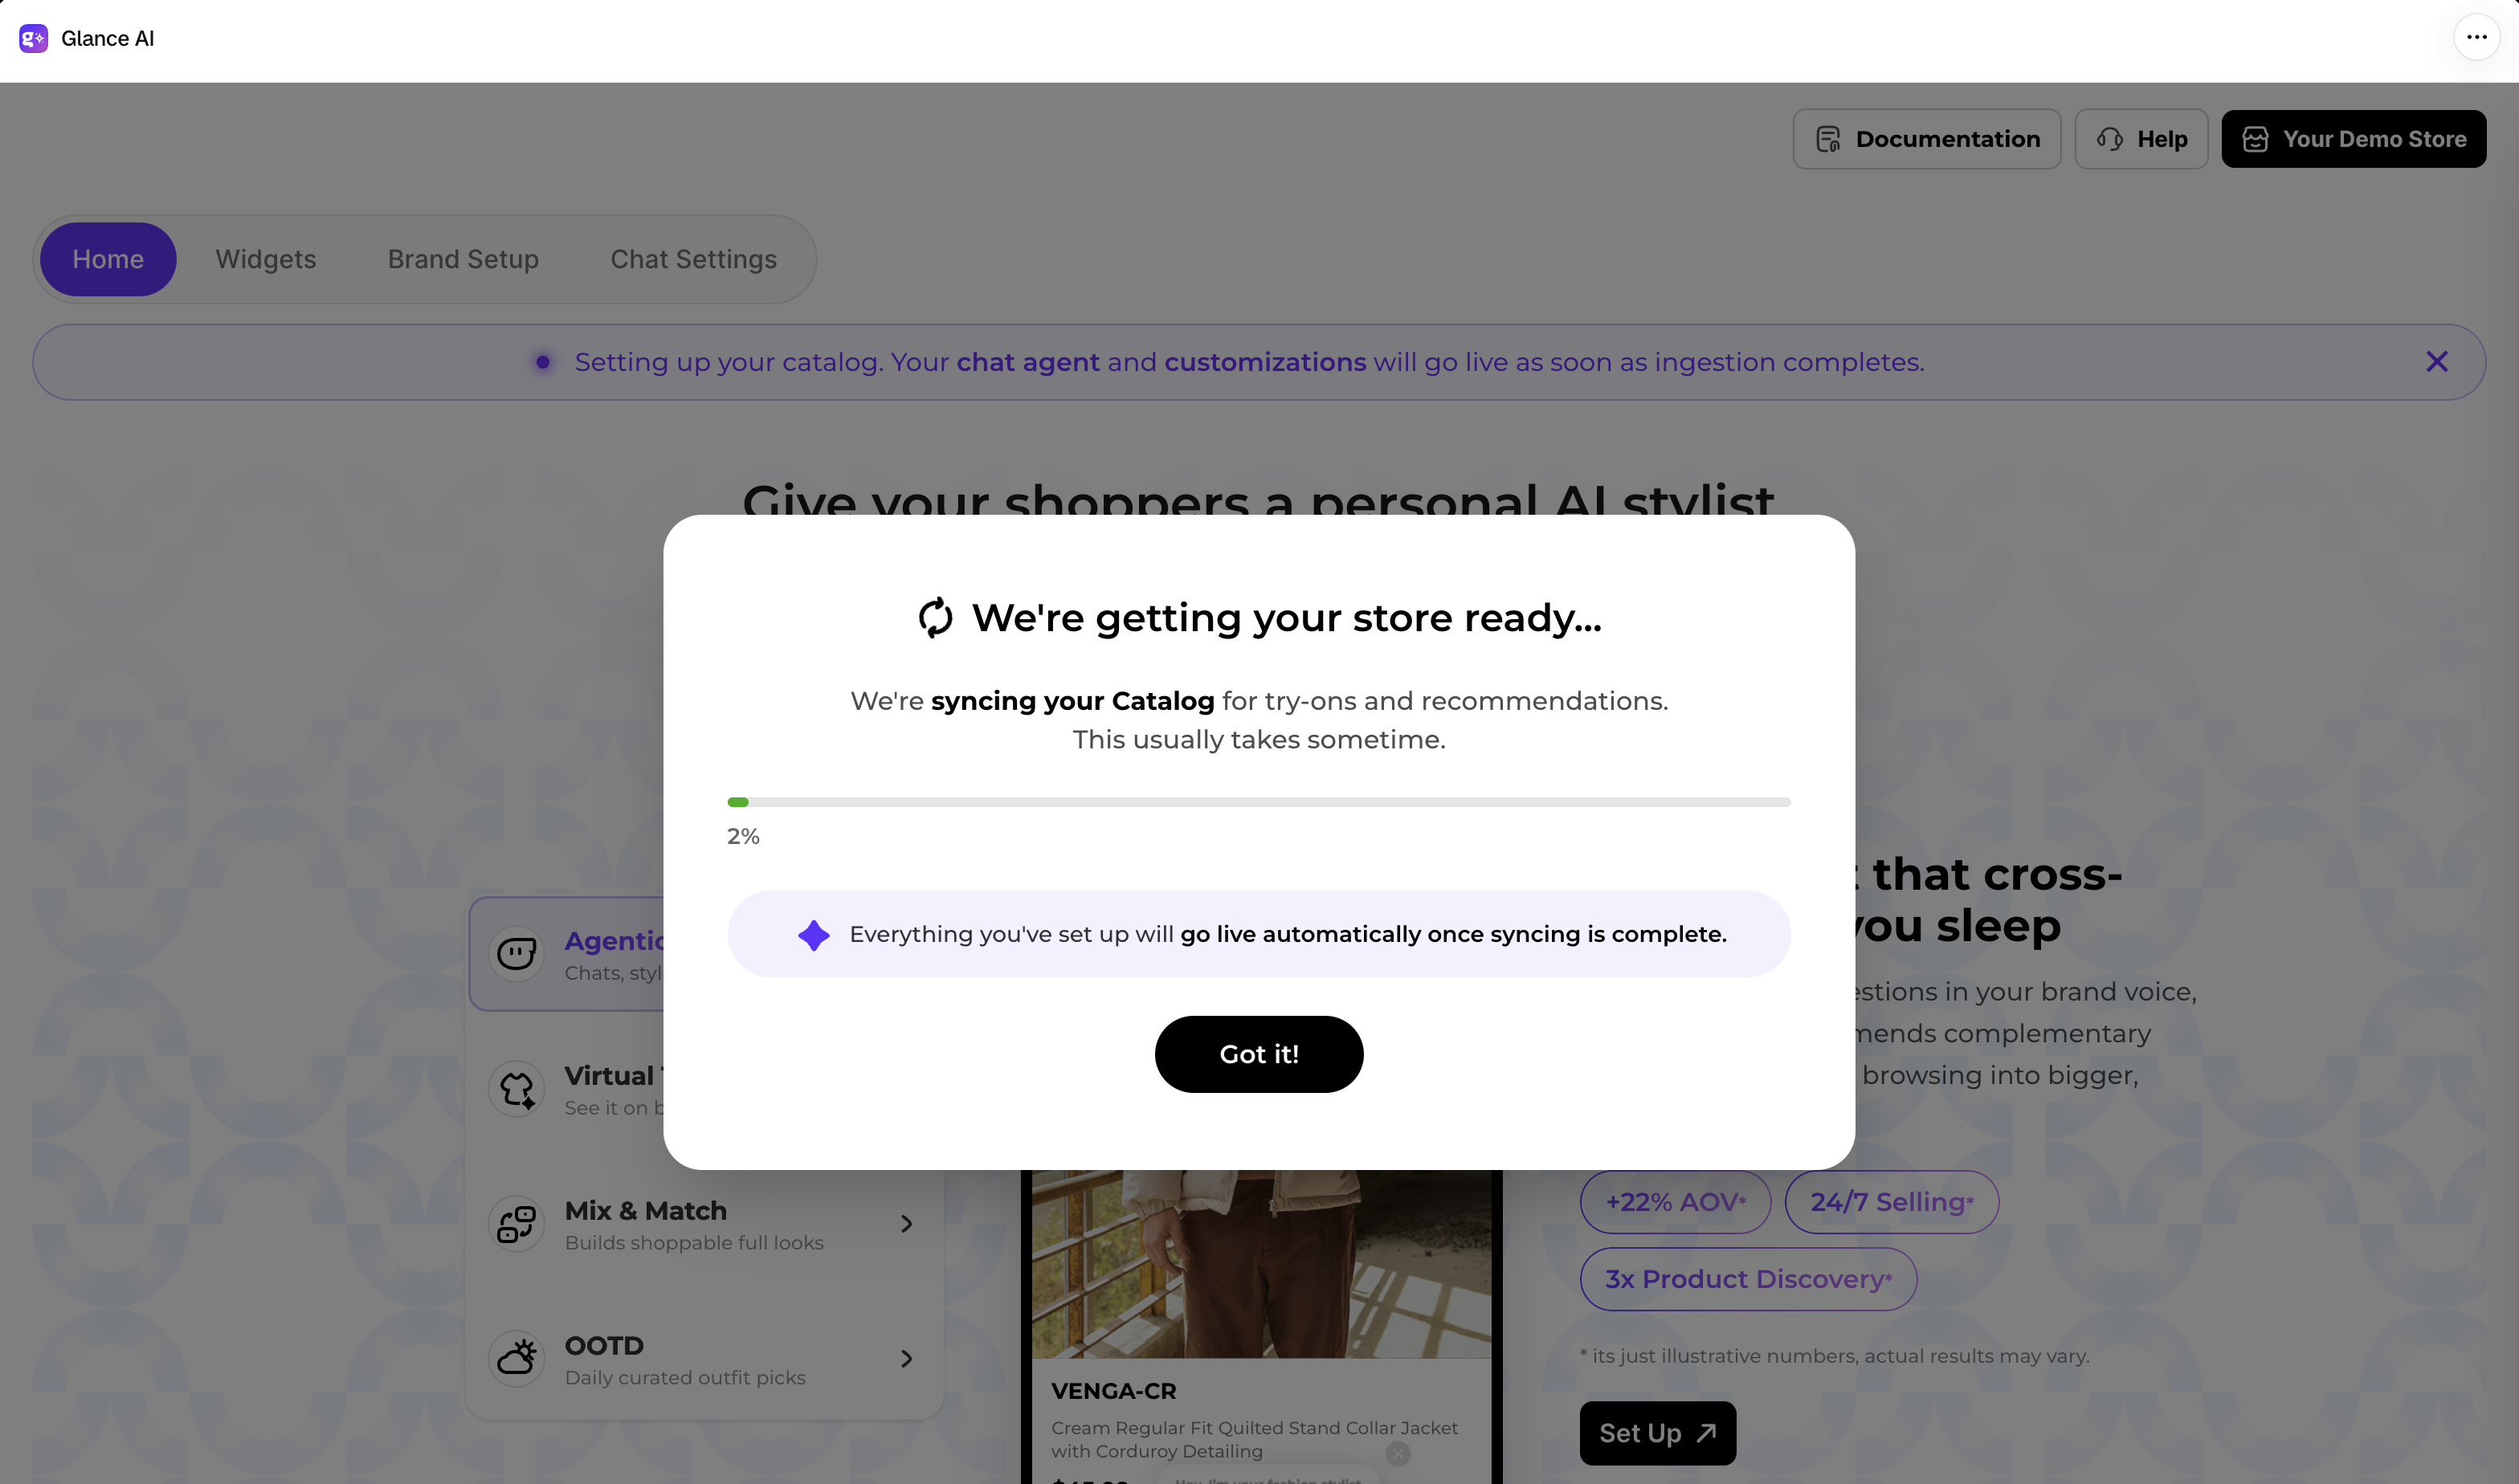
As soon as onboarding begins, Glance starts syncing your product catalog in the background so it can power try-on and recommendations. A We're getting your store ready… popup confirms the sync has started — everything you set up goes live automatically once syncing completes.
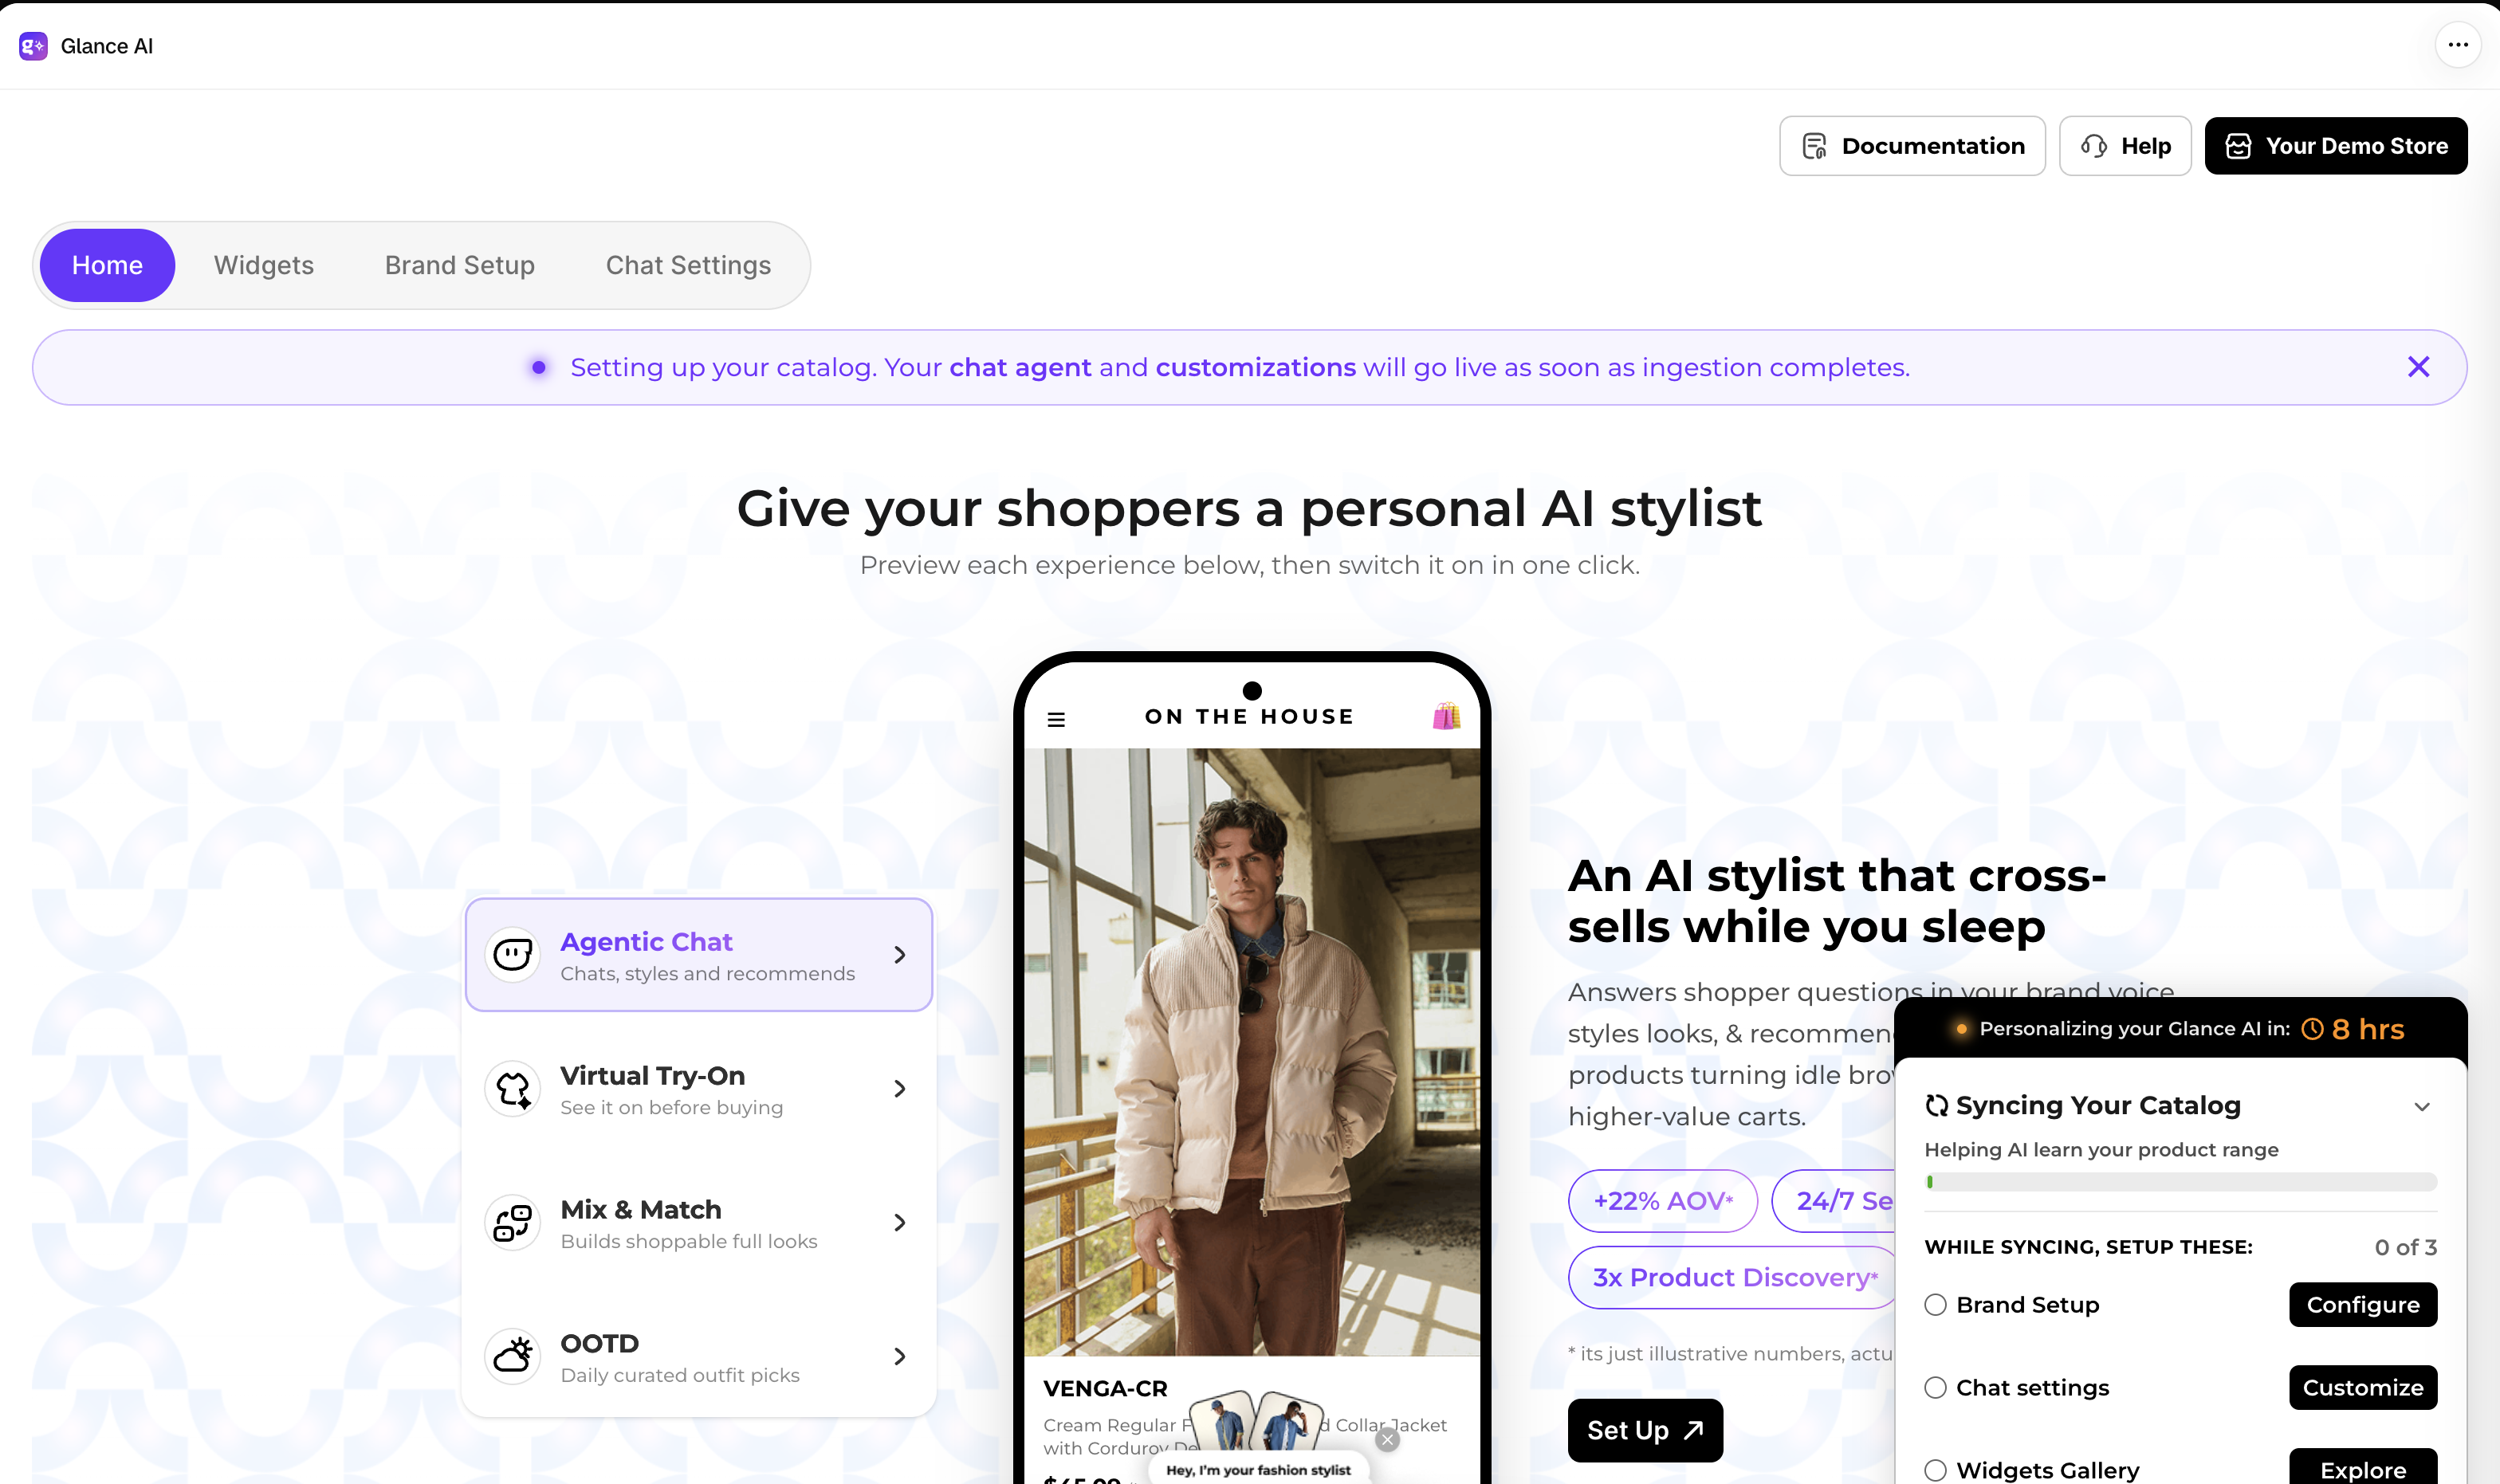
On the home page, a banner shows that your catalog is being set up, and the Syncing Your Catalog card tracks progress. While it runs, you can work through its checklist — Brand Setup, Chat settings, and Widgets Gallery.
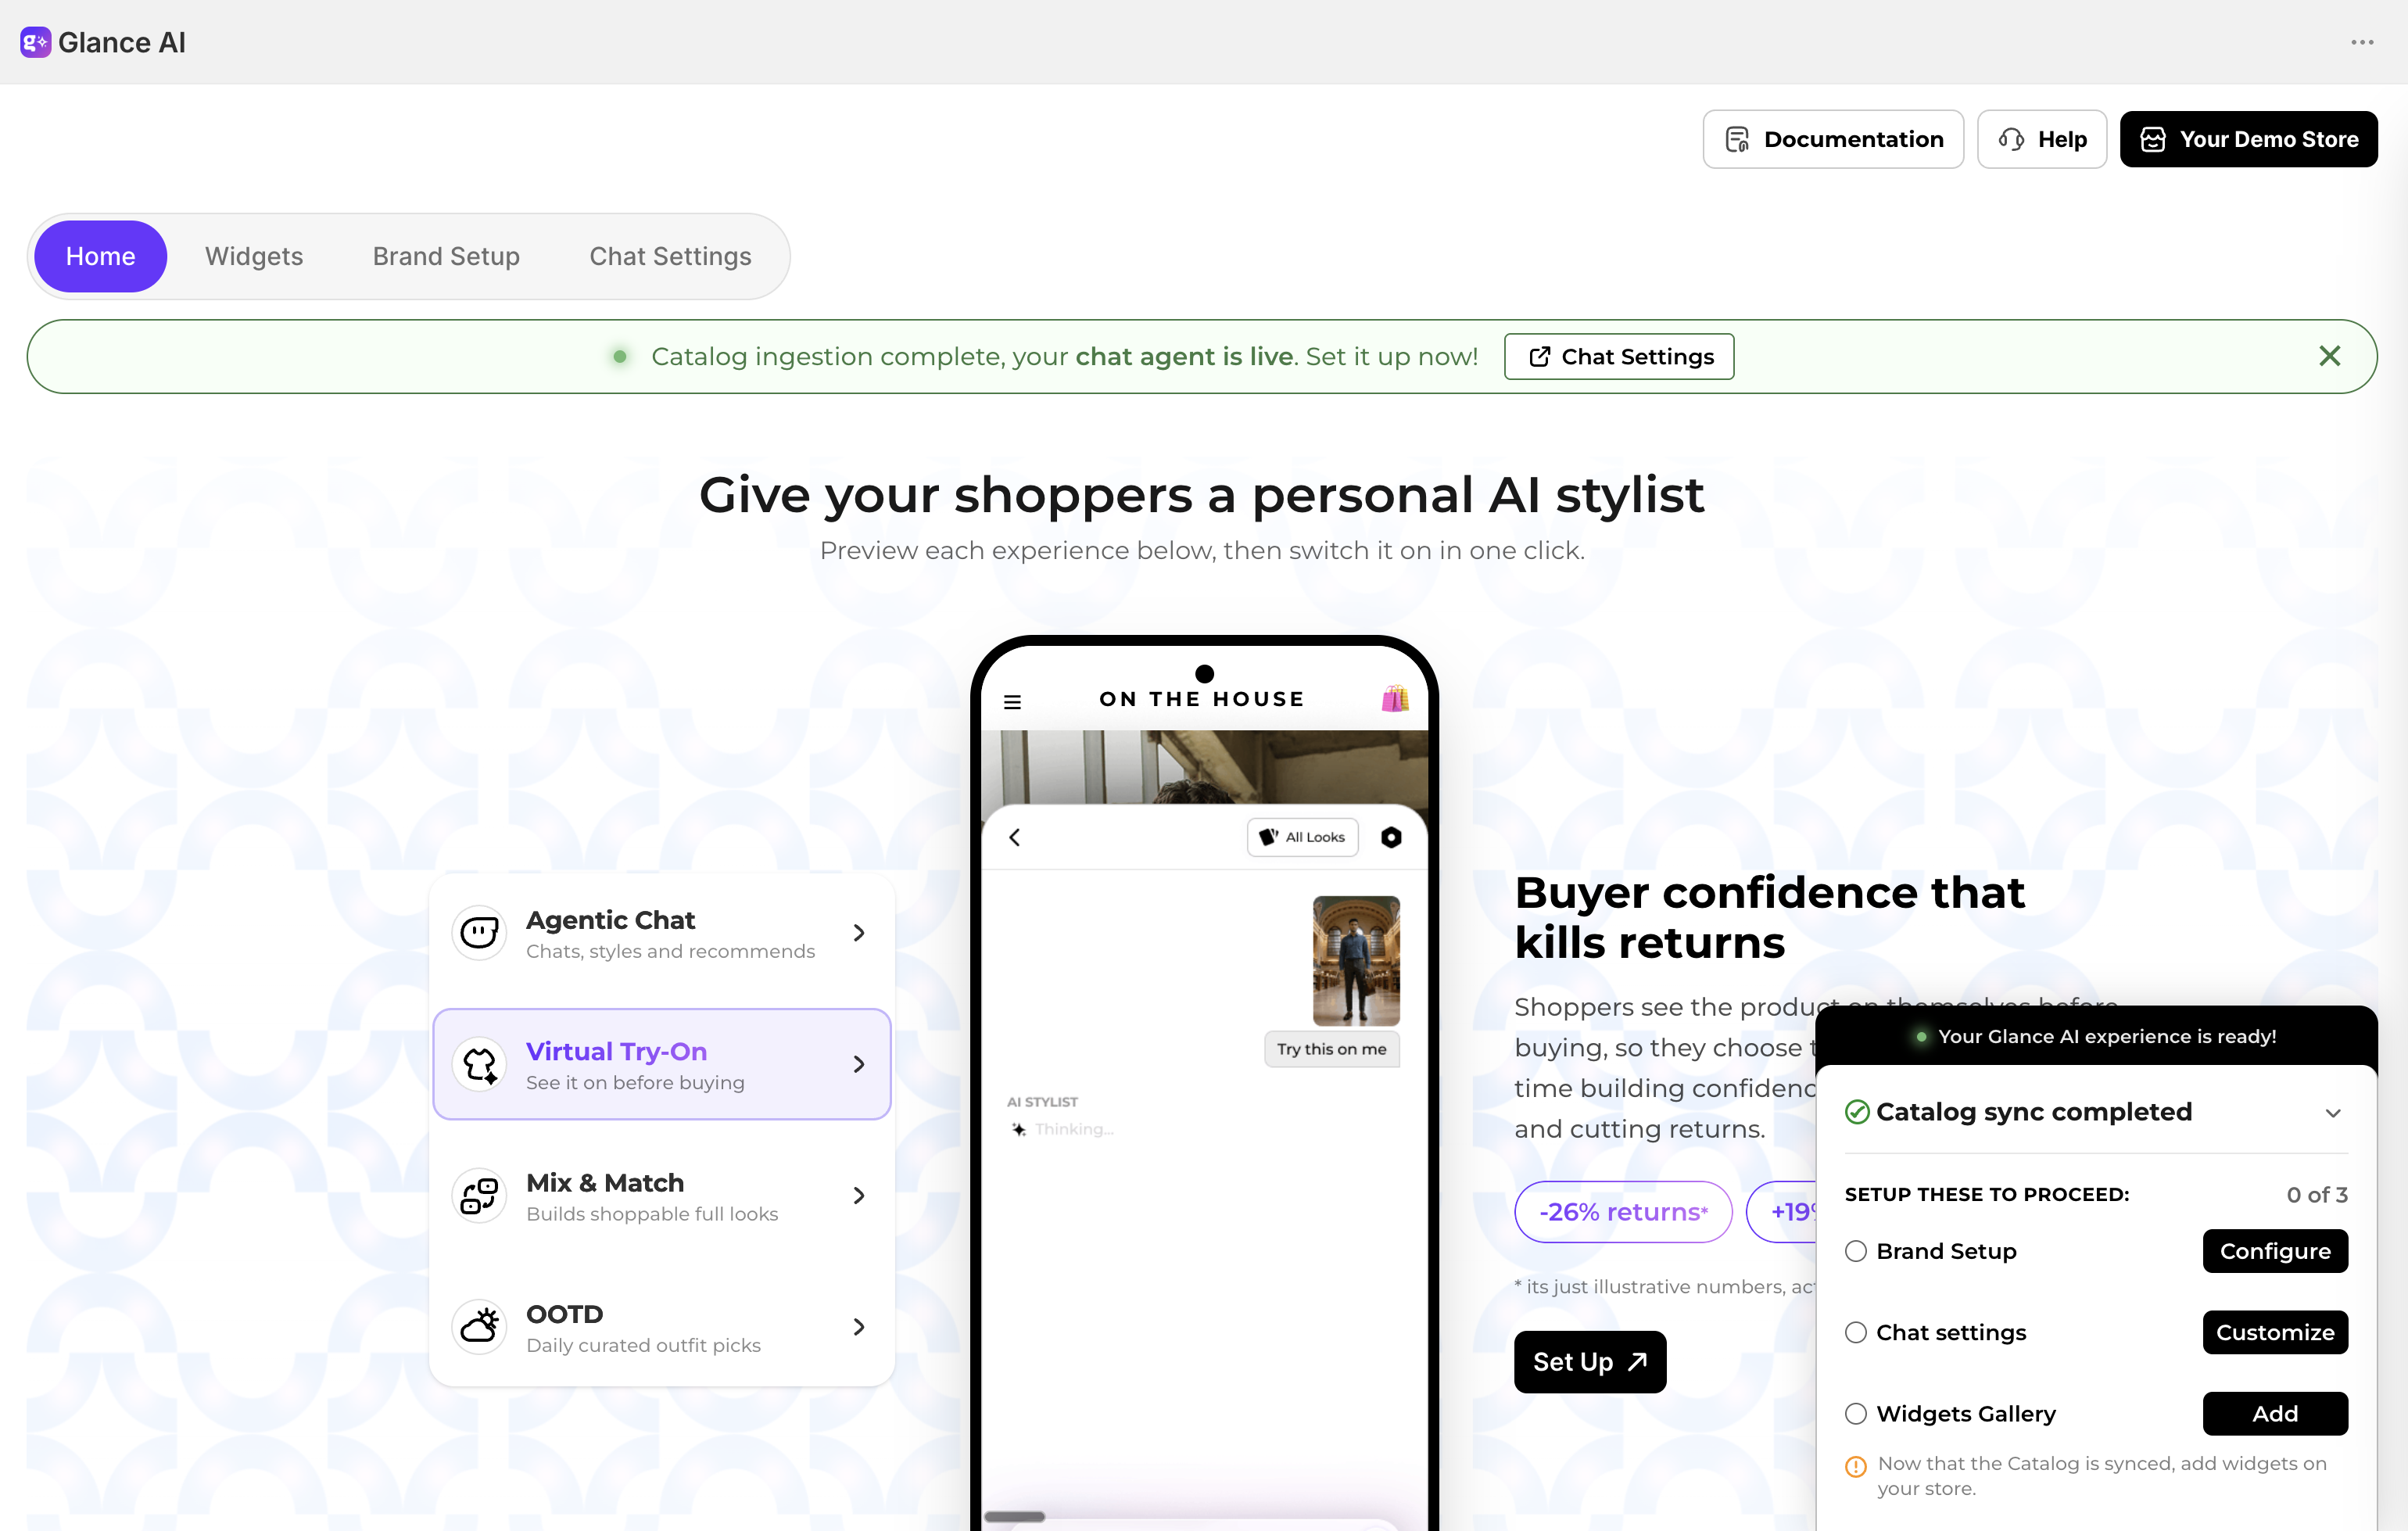
When ingestion completes, the banner turns green — your chat agent is live — and the card shows Catalog sync completed.
Preview widgets in action
The home page showcases a set of widgets in a mock environment. Browse them to see how Glance's agentic widgets look and behave, so you know exactly what your shoppers will experience.
- Explore the widgets to understand what each one does.
- When you're ready to configure them, click Set Up on the right to jump straight to the widget setup section.
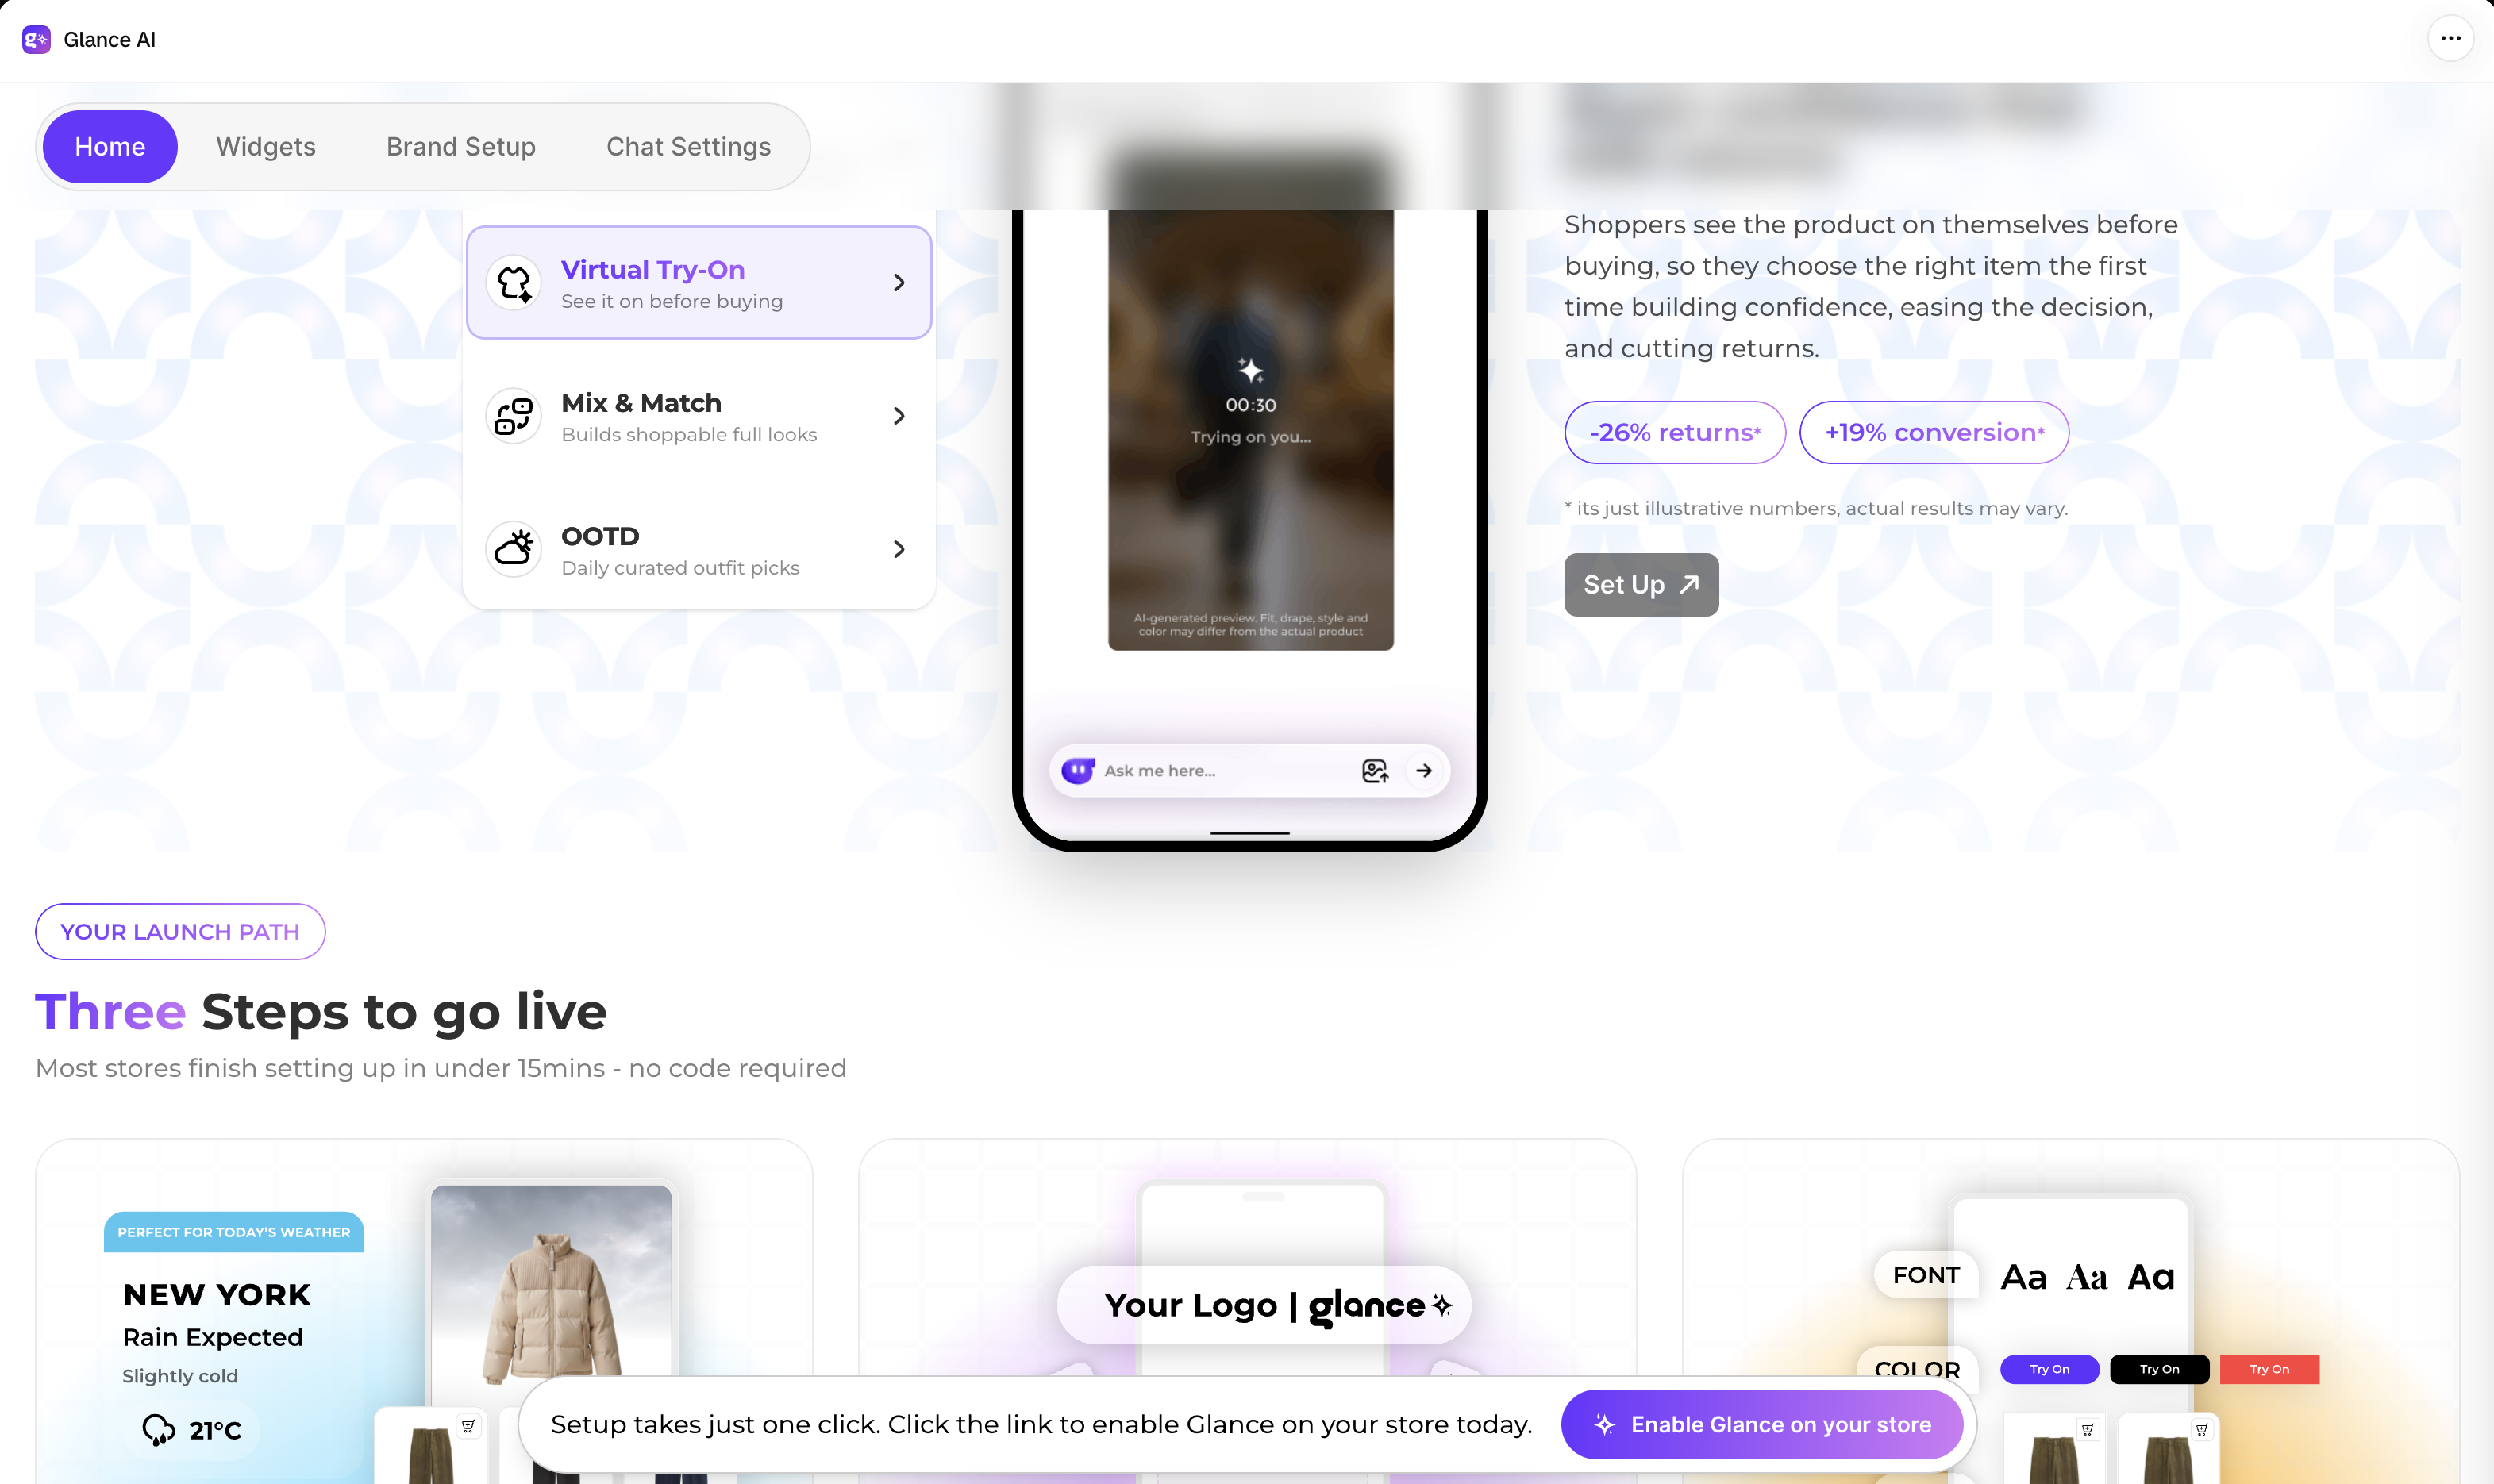
Three steps to go live
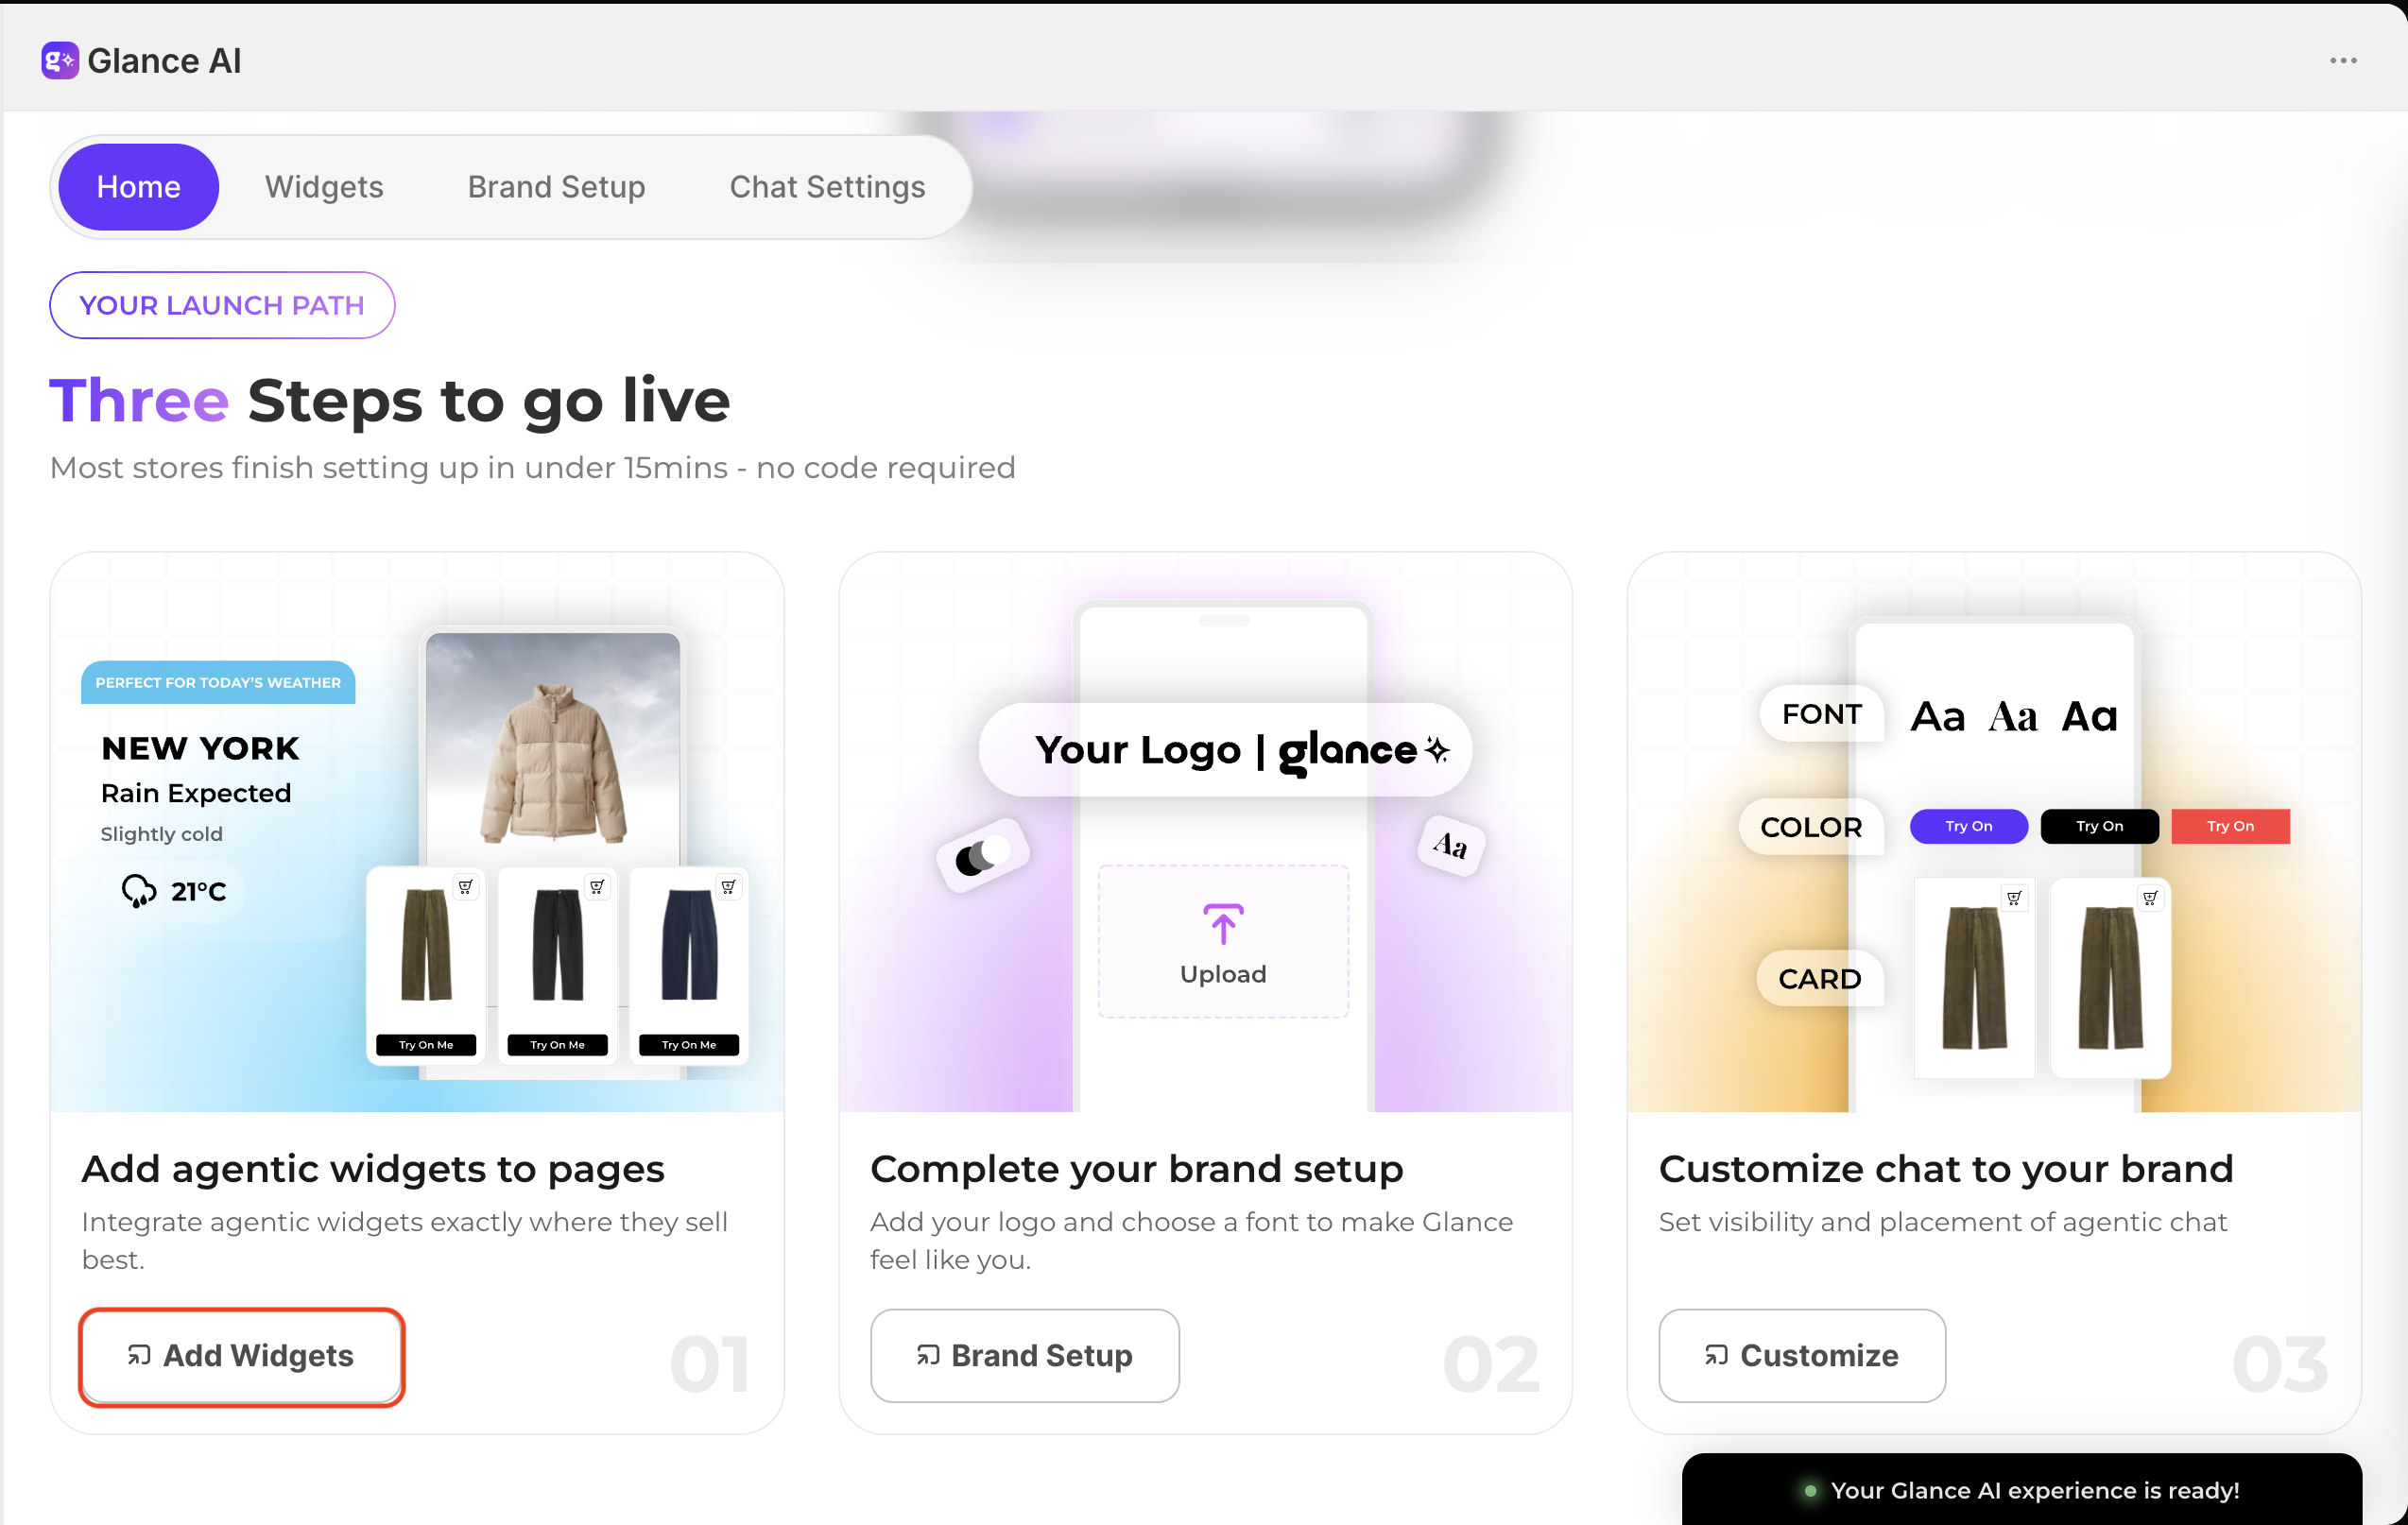
The home page lays out three steps that, once complete, give your shoppers the best possible Glance experience. Work through them in whatever order suits you.
Step 1: Add agentic widgets to your pages
Agentic widgets bring try-on, recommendations, and interactive shopping to your storefront.
- Click Add Widgets to open the widget gallery, where you can browse and integrate widgets across your pages.
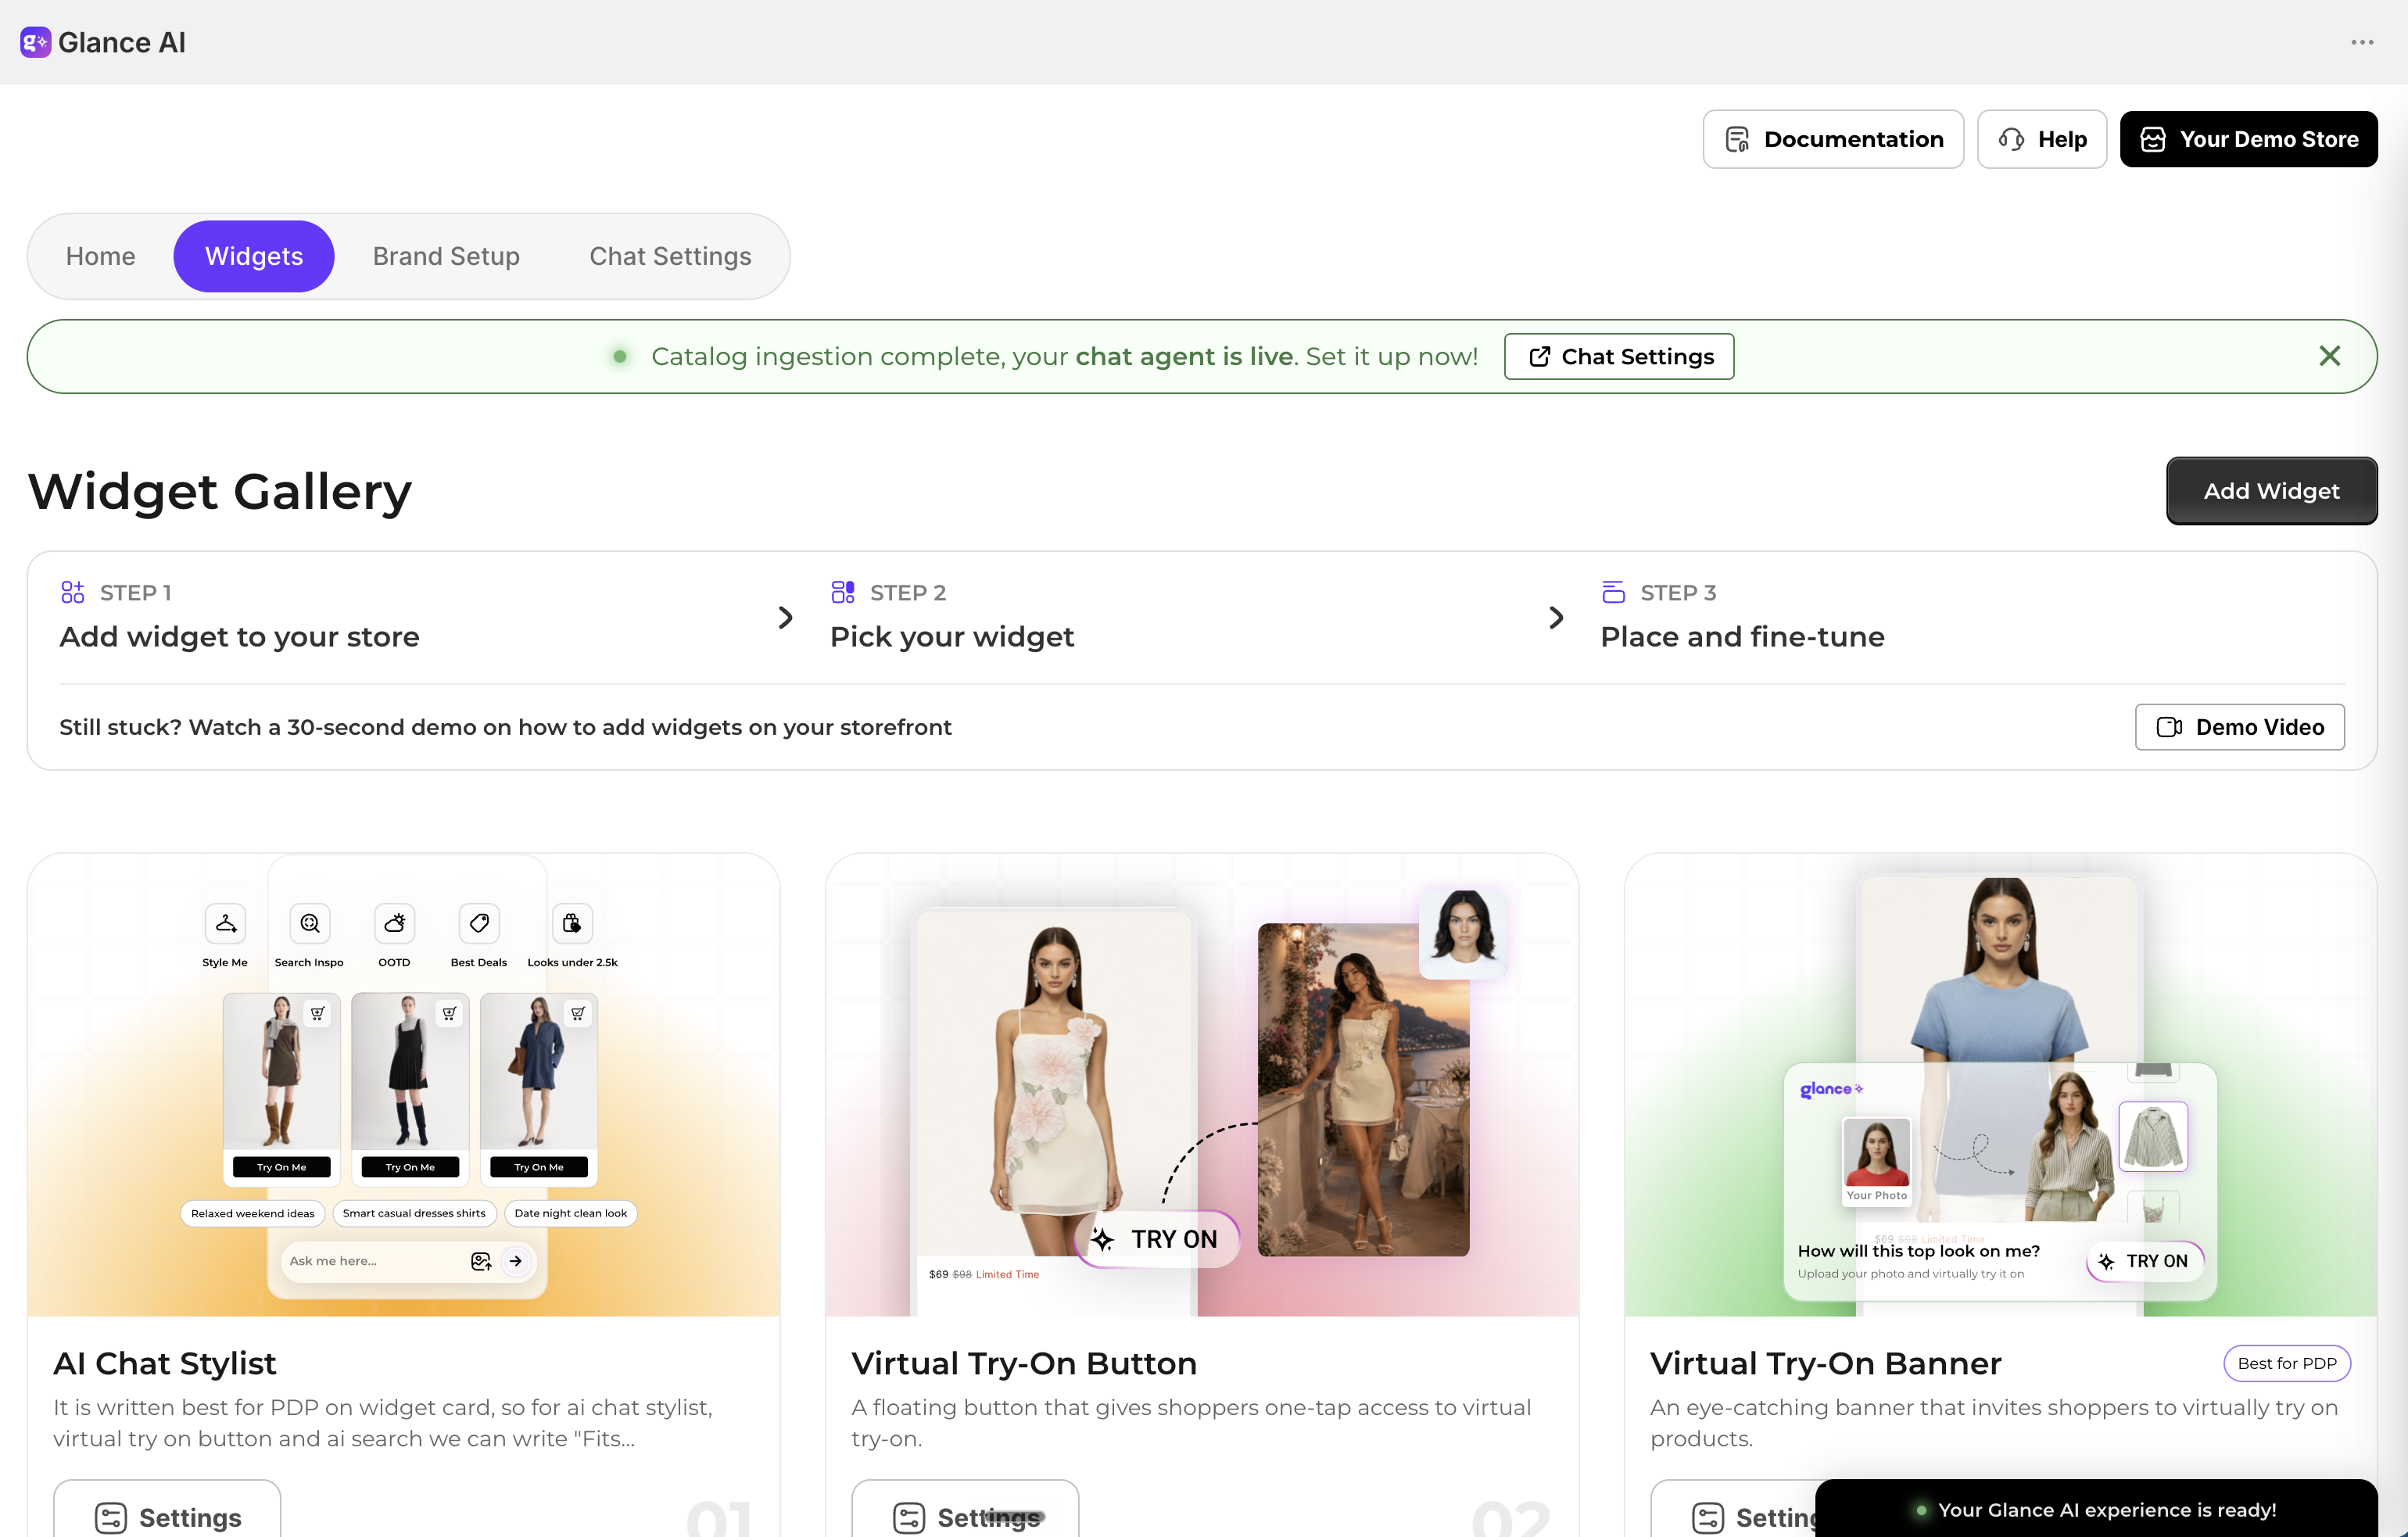
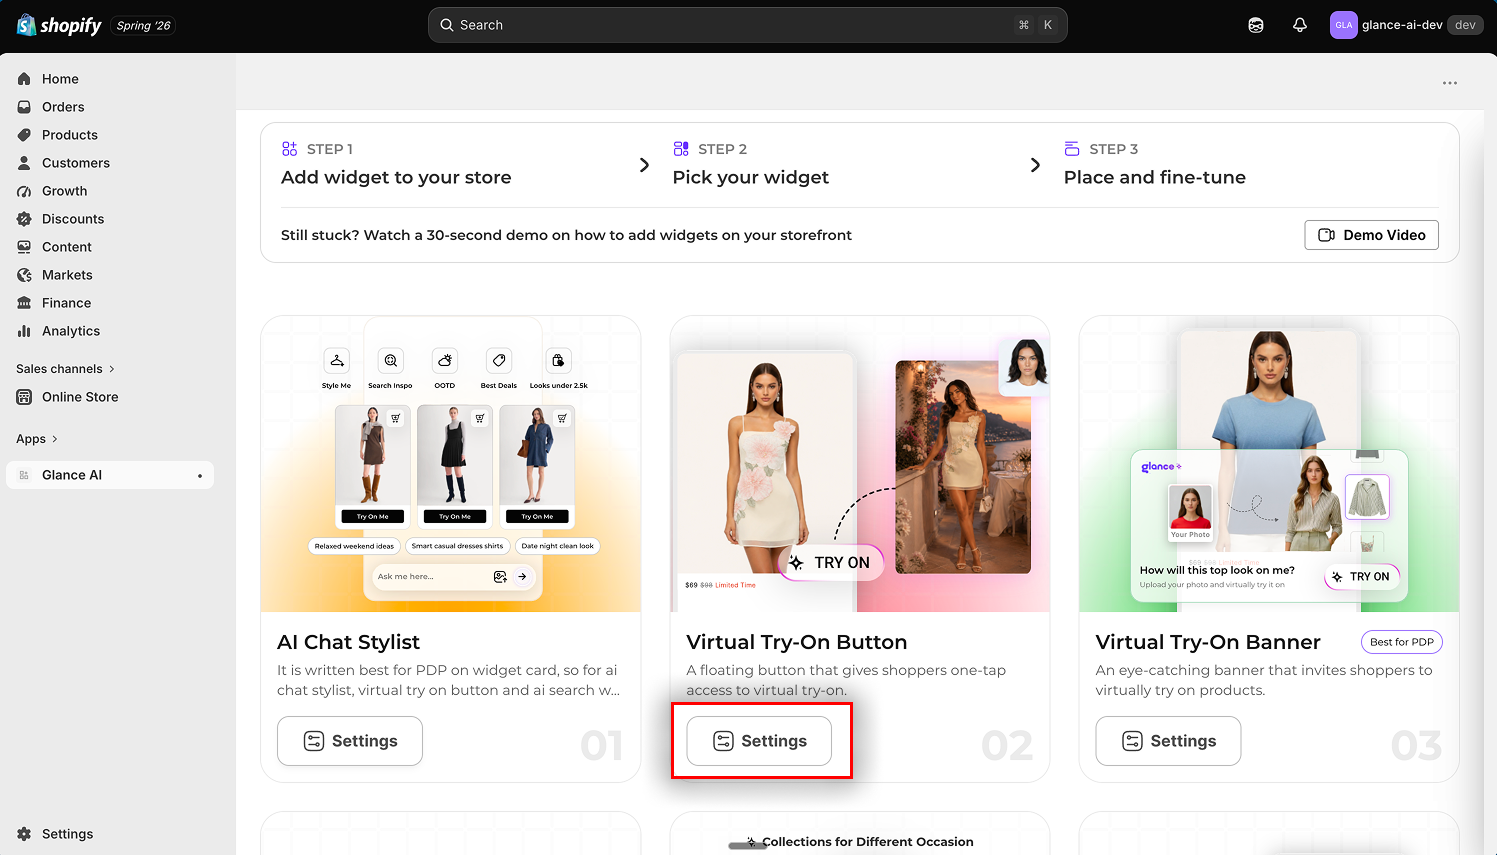
In the widget gallery, follow the three steps at the top — Add widget to your store, Pick your widget, and Place and fine-tune.
Not sure where to start? Watch the short demo for a quick walkthrough.
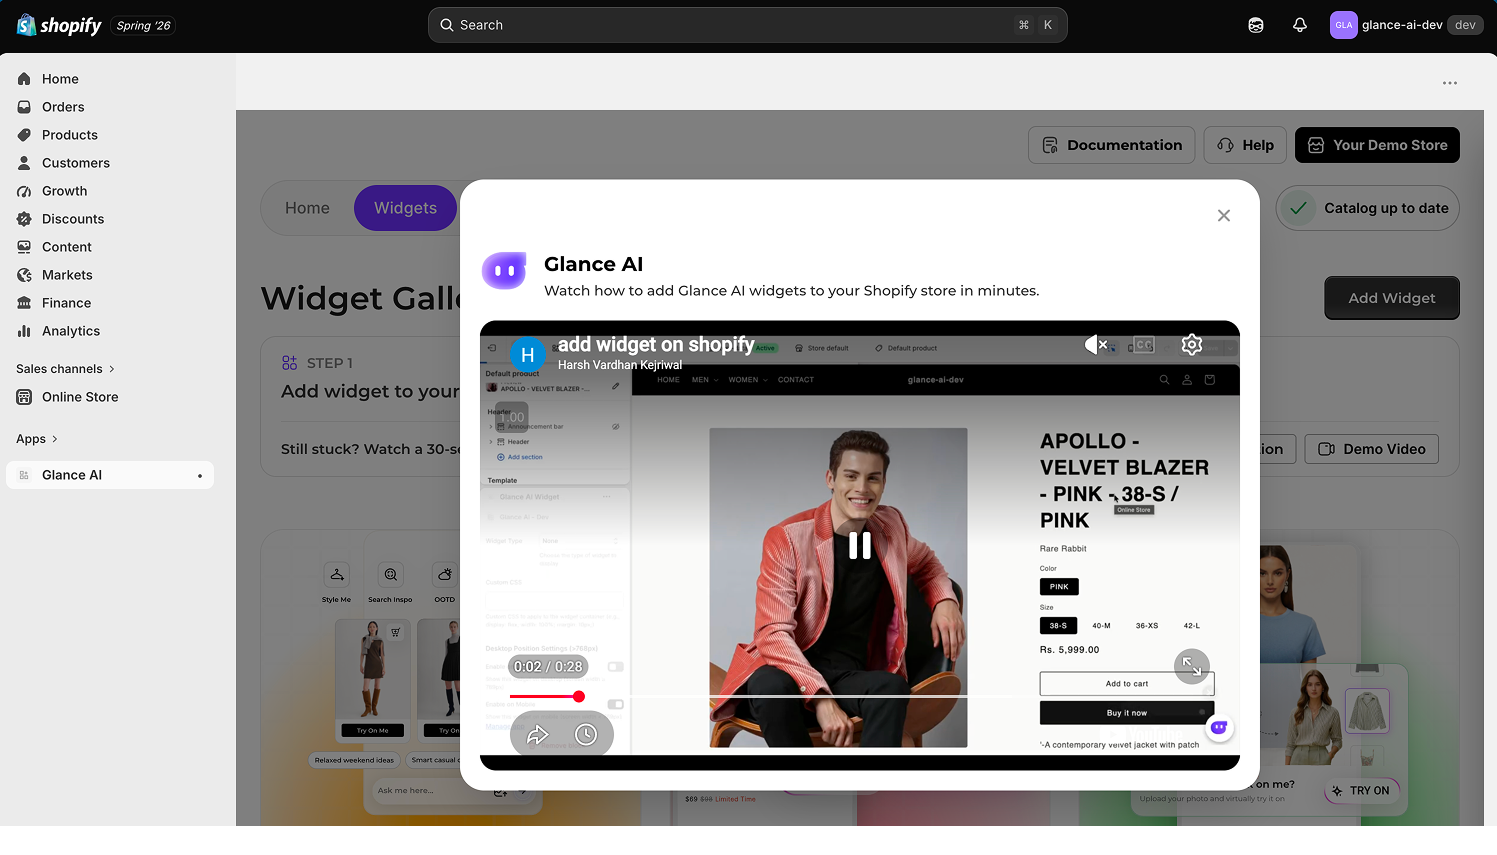
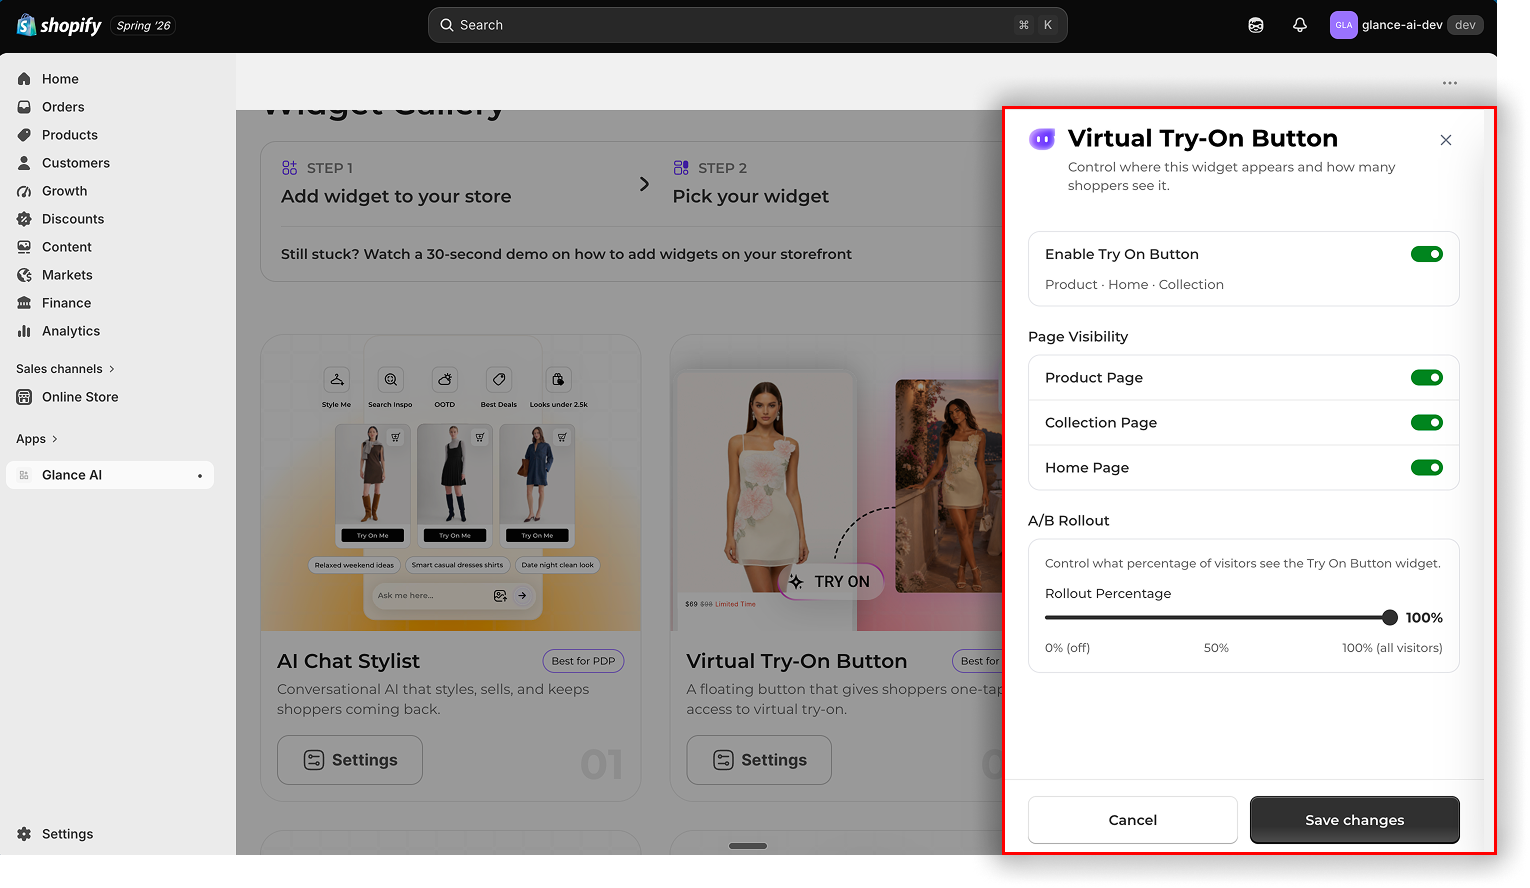
Open a widget's Settings from its gallery card to fine-tune it.
Choose where the widget appears and to how many shoppers, then Save changes.
Ready to place widgets exactly where you want them?
For detailed widget placement — including dragging blocks into specific theme sections — see the Widget Integration guide.
Step 2: Customize chat for your store
Make the Glance chat assistant match your brand and control where and how it appears. This is where you set up branding and fine-tune the chat experience.
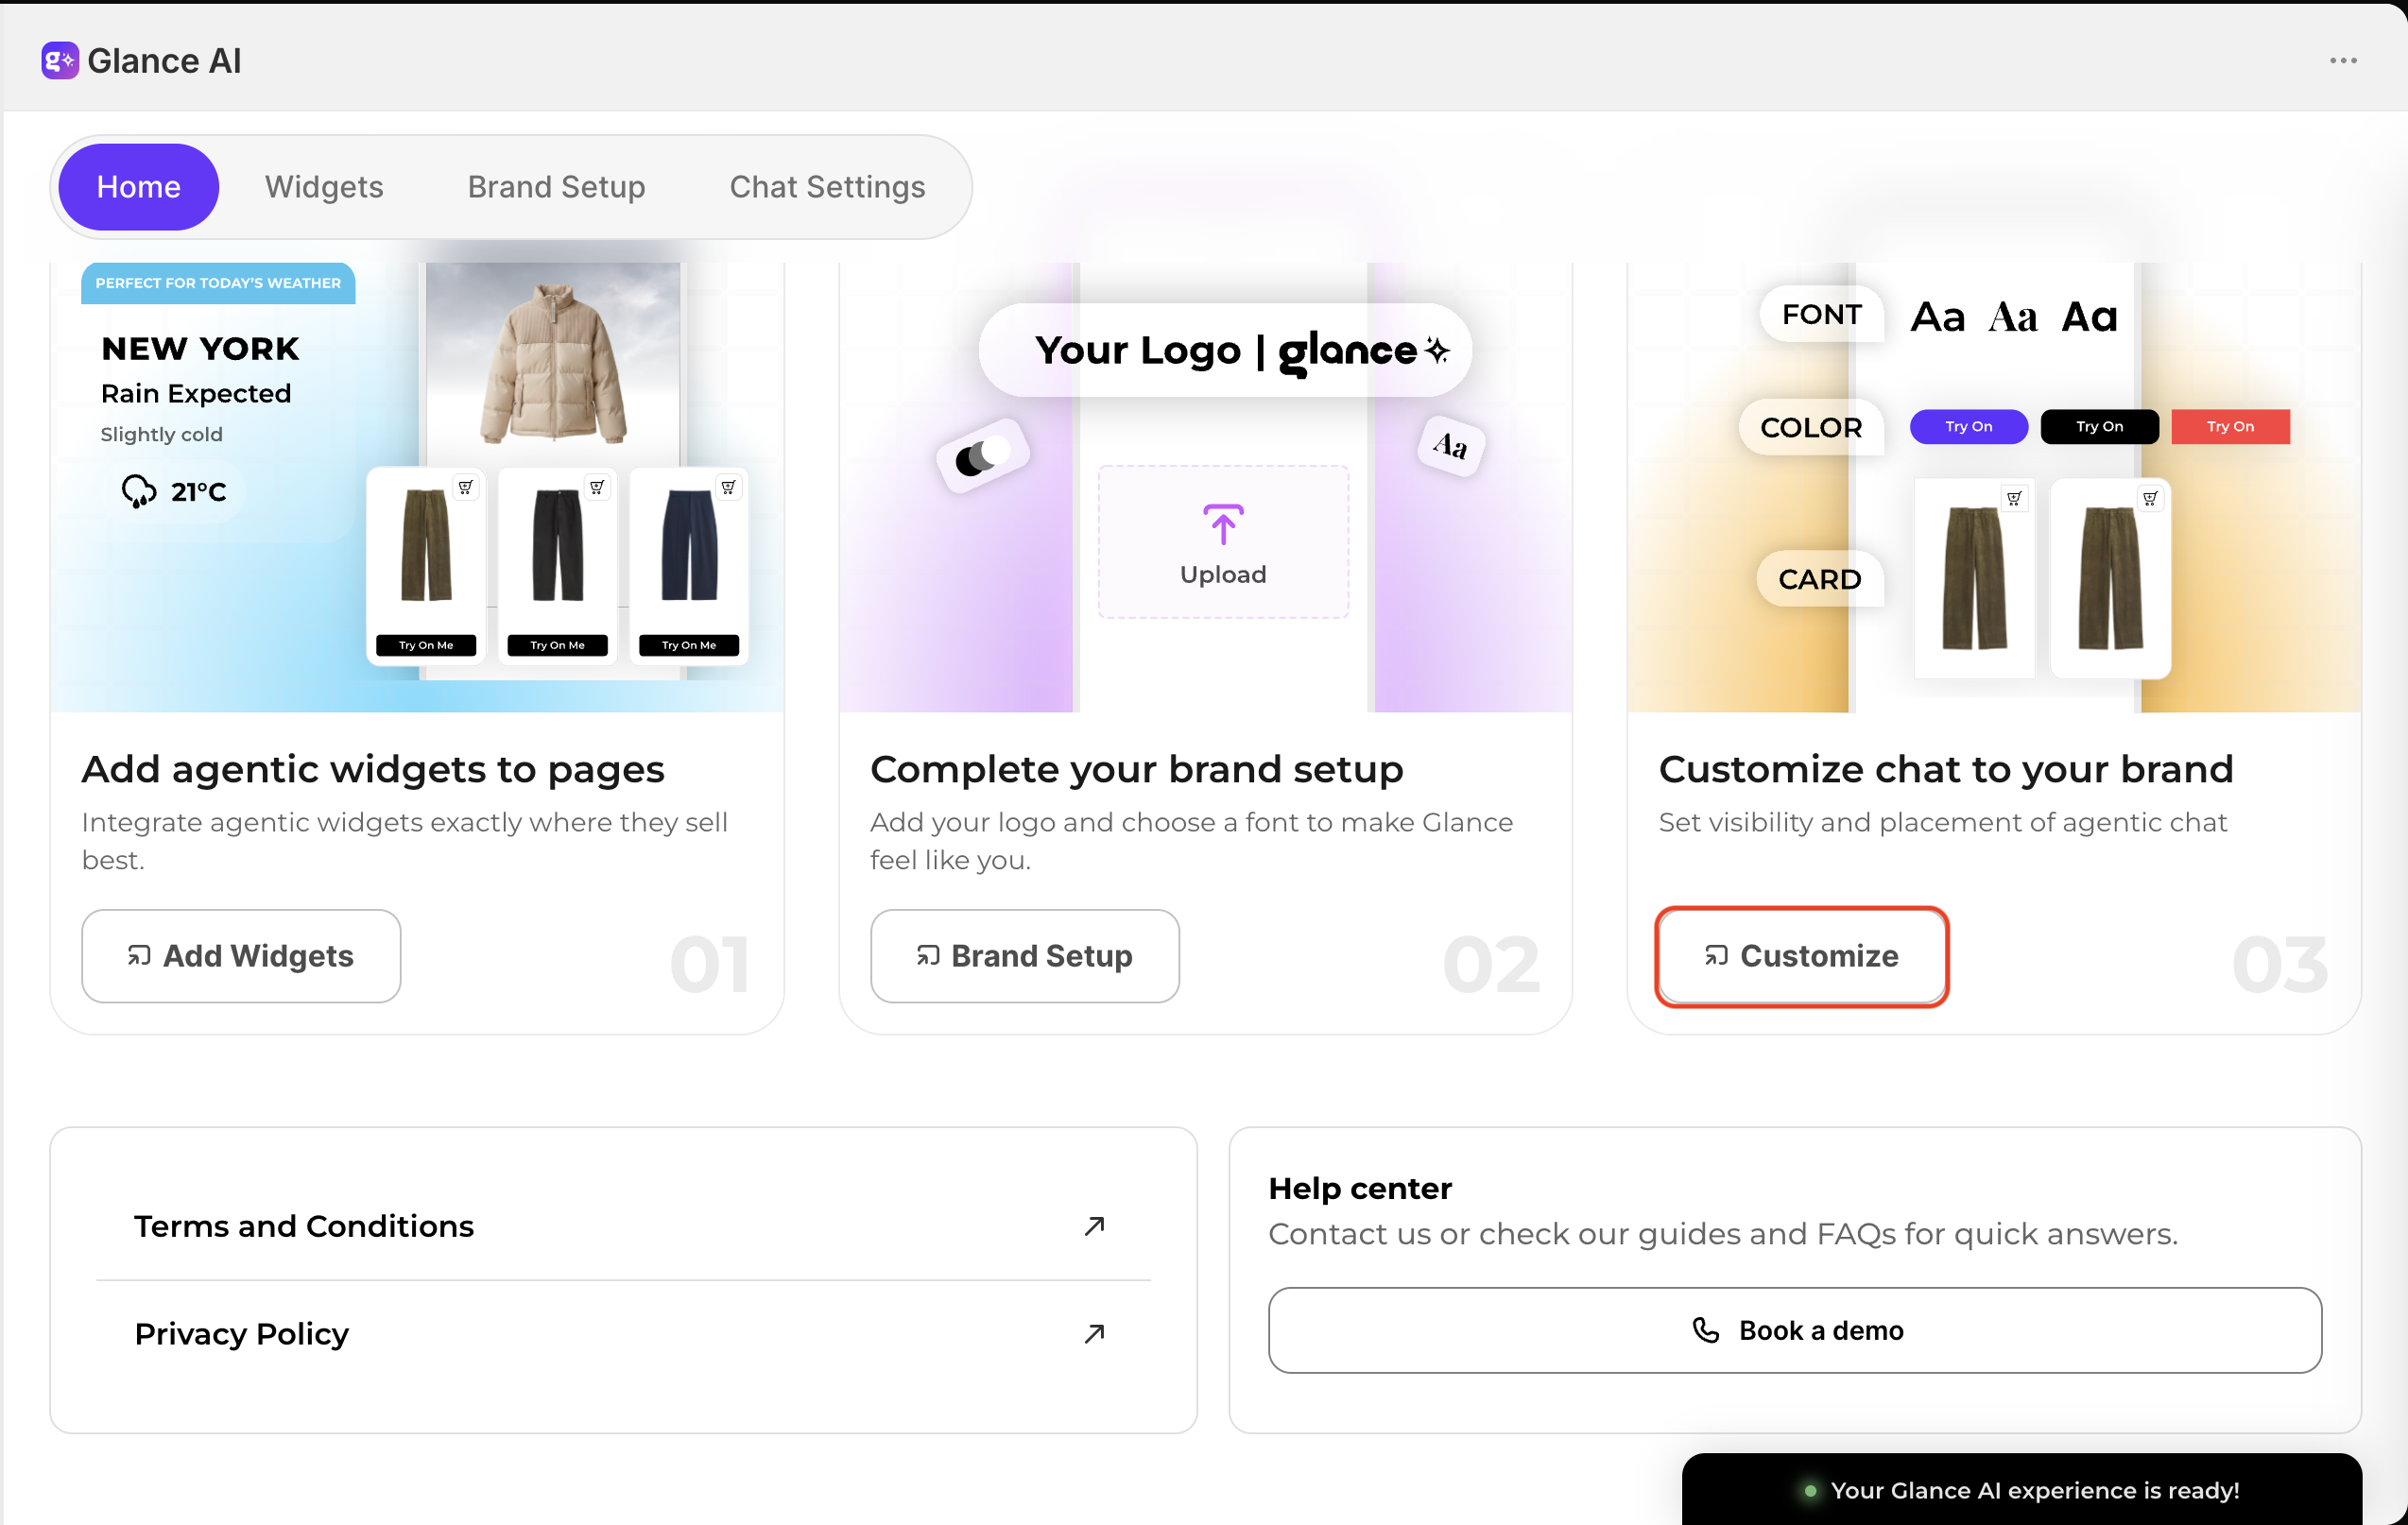
Set up your brand
- Upload your brand logo (a transparent PNG looks cleanest).
- Choose a theme for the chat section.
- Choose a font that matches your store's identity.
- Set a style reference so generated visuals align with your brand.
Customize the chat
- Control the chat's visibility — choose the pages where Glance and the floating chat button appear (for example, Homepage, Collection, and Product pages).
- Set the chat's placement — position the floating action button (FAB) for both mobile and desktop, and adjust its offset.
- Adjust any other available chat options to fit your store.
- Click Save & Publish to apply your changes.
Use a transparent logo
A PNG logo with a transparent background looks cleanest against the chat themes. Upload the highest-resolution version you have — Glance scales it down as needed.
The Glance Pixel
The Glance Pixel is added to your store when you enable Glance. It runs across your store to support Glance functionality and track relevant shopper interactions. You don't need to add or configure the Pixel separately — it is added and connected automatically when you enable Glance on your store.
More help and resources
At the bottom of the home page you'll find everything you need to learn more or get support:
- Privacy Policy — review how Glance handles your data.
- FAQs — quick answers to the most common setup and usage questions.
- Help center — reach out and Book a demo whenever you'd like a guided walkthrough. Clicking Book a demo opens a short form to capture your details; a Glance representative will contact you within 24–48 hours to confirm your demo.